
1.About Installation Guide
This guide provides essential instructions on how to install Global Tuning Tool software. Additionally, topics in this document include information on system requirements and how to activate or renew a license.
1.1.Reference Document
Visit Harman AudioworX Documentation, to get more information about Global Tuning Tool and various modules.
Additionally, you can refer following relevant documentation for more detailed information on Global Tuning Tool.
- Global Tuning Tool User Guide
- Signal Flow Designer Guide
- Audio Object Description Guide
- Real Time Analyzer User Guide
- Measurement Module 2.0 User Guide
- Central Viewer User Guide
- Audio Object Developers Guide
For technical publication questions or comments, email us at techpubs@HarmanAudioworX.com.
Terms and Abbreviations
List of technical terms and abbreviations.
- xAF: Extendable Audio Framework
- GTT: Global Tuning Tool
- SFD: Signal Flow Designer
- BAO: Basic Audio Object
1.2.Feature and Change Request
You can place feature or change requests via AudioworX Help Center.
AudioworX Help Center: https://jira.harman.com/jira/servicedesk/customer/portal/140
You can find detailed instructions and a process description on the AudioworX confluence page.
AudioworX confluence: https://confluence.harman.com/confluence/pages/viewpage.action?pageId=104354249
2.System Requirements
Your computer must meet the minimum technical specifications outlined below to run and use Global Tuning Tool.
Table 1: Global Tuning Tool System Requirements
| Component | Minimum Requirement | Recommended Requirement |
| Processor | Intel® Core – i3 processor (4.3GHz) | Intel® Core -i5 processor (1.7GHz or above) |
| Operating System | Windows 10 (64-bit support) | |
| Memory | 4 GB RAM | 8 GB RAM or above |
| Hard disk | 20 GB of available hard-disk space; additional space is required for installation | 50 GB or above |
| Display Resolution | 800 x 600 display | 1920 x 1080 display |
| Graphics |
|
|
| Browser |
The current version of Microsoft Edge, Internet Explorer, Chrome, or Firefox. Internet connection is necessary for GTT registration, license activation, membership validation, and access to online services. |
|
Currently, the Global Tuning Tool is not supported on macOS systems.
3.Prerequisites
For the latest Global Tuning Tool version, see the latest AudioworX release notes.
Visit the AudioworX software release information page and download the following setup files from the Software Downloads section.
| File Type | File Name |
| AudioworX prerequisites setup file | setup_HarmanAudioworX_PreReq_1.0.0.2024.exe |
| AudioworX installer file | Setup_HarmanAudioworX_S_ext_ x.xx.xx.xxxx_x.exe |
| Patch installer file | Setup_HarmanAudioworX_S_ext_ x.xx.xx.xxxx_x.exe |
4.Installing AudioworX Setup
The installation setup windows have the Next, Back, and Cancel control buttons. Click Next to advance to the next step. Click Back to return to a previous window to review or make a change. Click Cancel to abort the installation.
A best practice for installing an upgrade build to any GTT version is to clear your browser cache prior to installation. This removes any cached web resources that have changed since the previous installation or upgrade.
For successful GTT installation, install all the setups as per the order mentioned below.
4.1.Install AudioworX Prerequisites
Follow the below steps to install AudioworX prerequisites setup.
- Right-click the HarmanAudioworX Pre-req setup file and choose Run as administrator.
The AudioworX prerequisites setup file must be run as administrator. Certain Global Tuning Tool features may not work properly if you run the AudioworX prerequisites setup file normally.
If you see the User Account Control prompt that says, Do you want to allow this app to make changes to your device? select Yes.
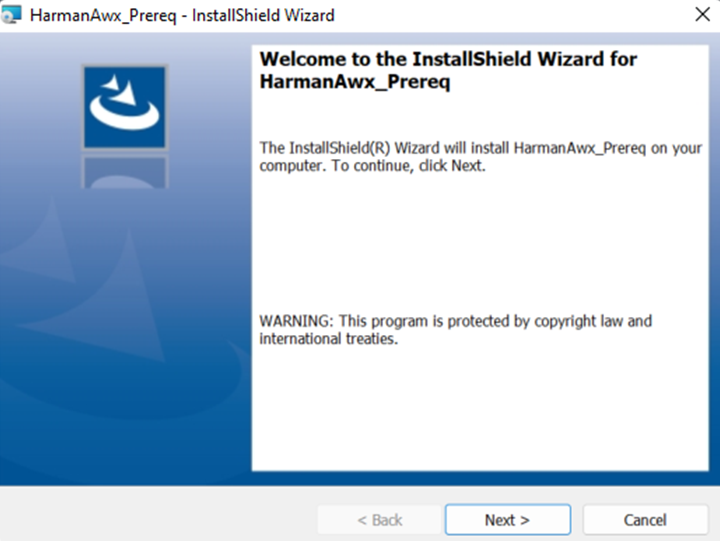
- On the HarmanAwX_Prereq welcome screen, click Next.
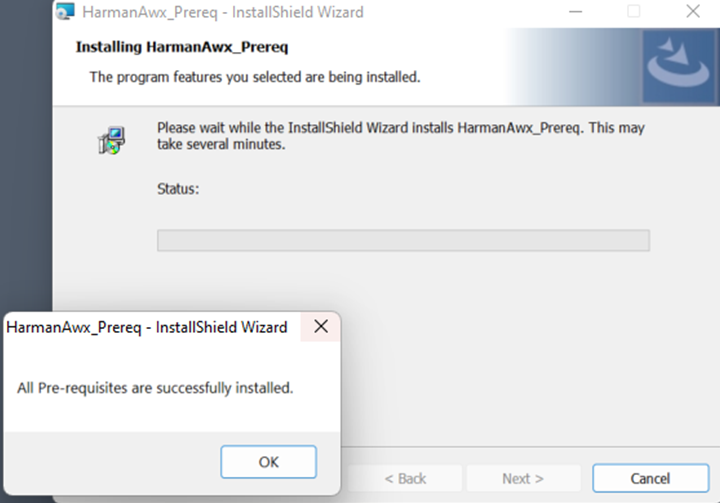
- Click Install to start the installation.

- When all the pre-requisites are successfully installed, the installation wizard will display a message, and click OK to continue the installation.
- Click Finish to complete the installation.
4.2.Install AudioworX
Follow the below steps to install the AudioworX setup.
- Right-click the AudioworX setup file and choose Run as administrator.
The AudioworX setup file must be run as administrator. Certain Global Tuning Tool features may not work properly if you run the AudioworX setup file normally.
If you see the User Account Control prompt that says, Do you want to allow this app to make changes to your device? select Yes.
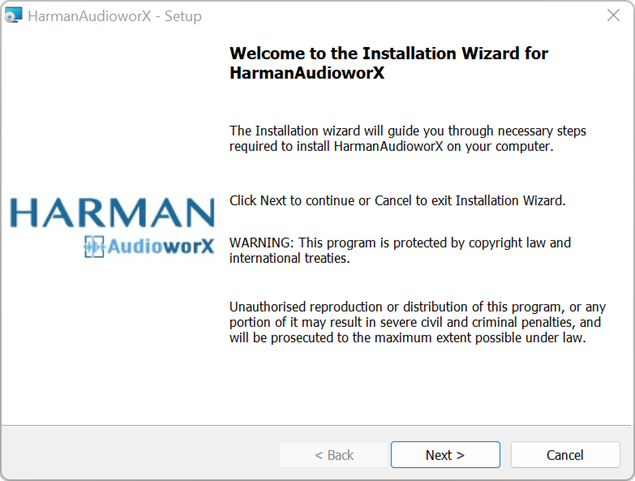
- On the AudioworX welcome screen, click Next.
- On the License Agreement screen read the license agreement carefully, accept the terms of the license agreement and click Next.

- On the destination screen, click Next if you accept the default destination folder location.
The default location is C:\Program Files\Harman\Harman AudioworX.
Or
If desired, click Change to navigate to a different folder.

- On server screen, connect to the server using one of the following options.
By default, the wizard will connect to your local server.
Select the Windows Authentication option and click Next.
In this authentication mode, the wizard will automatically connect to your local server using your windows authentication.
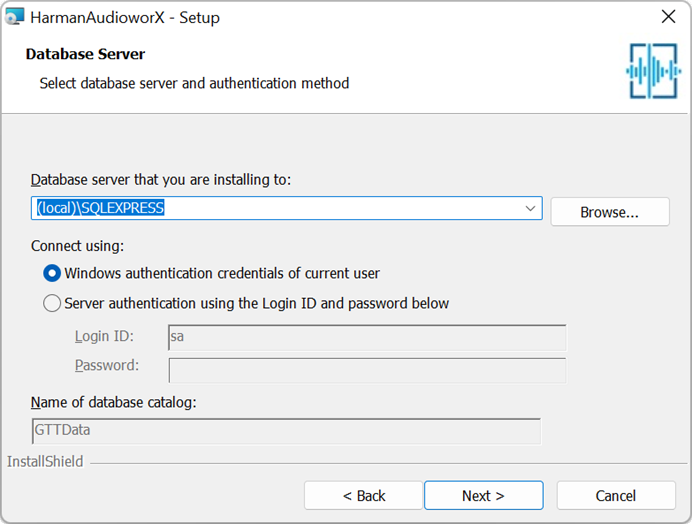
Or
Select the Server Authentication option, enter the Login ID and Password, and click Next.
Use server authentication mode only if the server is available on the computer. Make sure you have server credentials details with you.

- Click Install to start the installation.

- Click Finish to complete the installation.

4.3.Install Patch
Install the AudioworX patch file only after completing the AudioworX installation.
Follow the below steps to install the AudioworX patch setup.
- Right-click on the AudioworX patch and choose Run as Administrator.
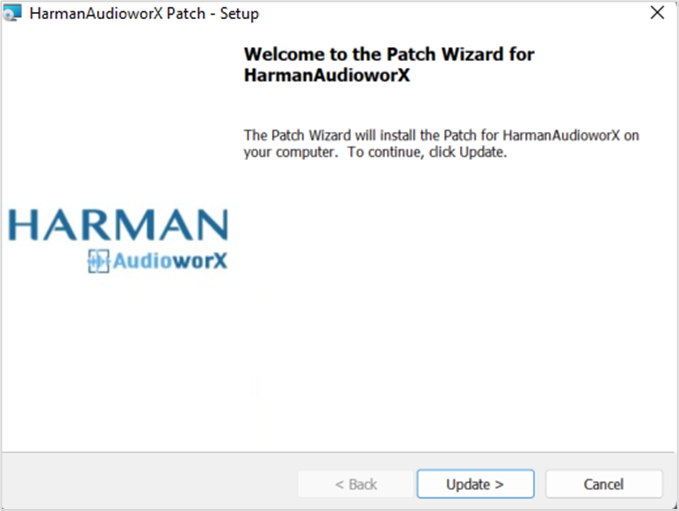
- On the AudioworX patch wizard welcome screen, click Update.
If you see the User Account Control prompt that says, Do you want to allow this app to make changes to your device? select Yes.
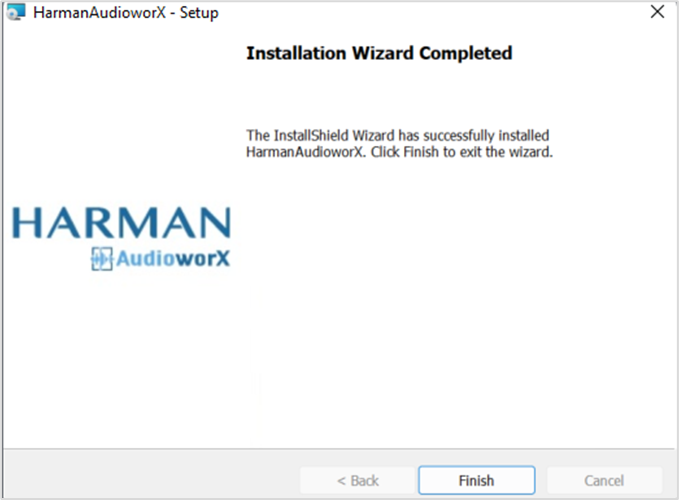
Wait till the installation wizard completes the upgrade. - Click Finish to complete.
5.Licensing Global Tuning Tool
If you are a new user, after installing GTT on your system, you need to activate the GTT license.
In order to access the Global Tuning Tool, you need to complete the registration process and activate the license.
For a hands-on evaluation of the Global Tuning Tool, you can request for a trial license. For more details refer Global Tuning Tool trial license.
Make sure your computer is connected to the internet before starting the GTT license activation process.
5.1.User Registration
Follow the below steps to complete the Global Tuning Tool user registration.
- Double-click on the GTT to start.
- On the User Registration/ License Activation screen, enter the following user registration details.

Name: Enter your name.
Company Name: Enter your company name.
Email: Enter your official email Id.
Country: Select your country from the drop-down list.
Comments: To add additional requirements or a custom license.Fields which are marked with * are mandatory.
No special characters are allowed in user registration fields.
- Click Submit.
After submitting registration details, the GTT display a message “User registration is successfully completed. You’ll receive the activation key in your registration email id soon.” - Click Ok.

You will receive the activation key on your registered email id within 24 hours on a working day.
5.2.License Activation
On receiving the activation key over email, you need to activate the license.
Follow the below steps to activate the license.
- Double-click on the GTT to start.
- On the User Registration/ License Activation screen, select the License Activation tab.
- Enter the activation key and click Submit.

On successful activation, the GTT will open and the GTT license activated successfully message displayed.

5.3.Renew License
You might see the “Renew GTT license” message on your GTT platform landing page or dashboard. This happens due to an upcoming expiration date of the GTT license.
The latest GTT license includes new features and extended license validity.
Follow the below steps to renew the GTT license:
- Double-click on the GTT to start.
- Navigate to the File menu and select Renew License option from the drop-down menu.

The system will start downloading the latest license. The GTT platform notifies you after a successful license renewal.

5.4.License Status Check
After you have renewed your GTT license, you can verify the validity of your license.
- Double-click on the GTT to start.
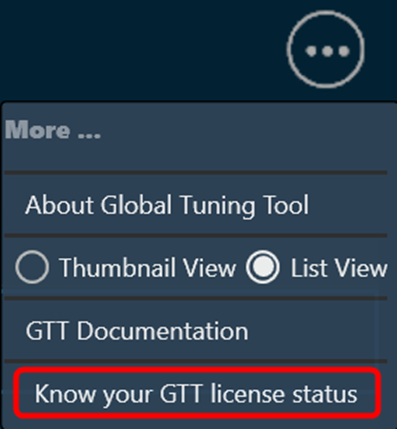
- Go to the right side of the GTT landing page and click on the ellipsis icon.
- Click Know your GTT license status.
The GTT license status is displayed.

If you want, you can renew your GTT license by clicking on Renew Now.
Also, you can get the GTT license status from the File menu. Go to the File menu and select the About option from the drop-down menu.

You will only be able to access licensed features in the GTT Platform. A message “Feature is not licensed” will appear if you attempt to use a feature for which you do not have a license.

5.5.Global Tuning Tool Trial License
A trial license gives you full access of Global Tuning Tool for 90 days. At the end of the trial period, Global Tuning Tool will notify you and you’ll have the option to request for full license to continue using it, so you won’t lose any of your projects or data.
The Global Tuning Tool offers a one-time trial license. Once the trial period ends, you cannot extend or renew it on this machine. You’ll need to purchase a license for continued use.
To request a Global Tuning Tool trail license.
- Double-click on the Global tuning tool to start.
- On the User Registration/ License Activation screen, enter the following user registration details.

Name: Enter your name.
Company Name: Enter your company name.
Email: Enter your official email Id.
Country: Select your country from the drop-down list.
Comments: To add additional requirements or a custom license.Fields which are marked with * are mandatory.
No special characters are allowed in user registration fields.
- Click Start Trial.
The Global Tuning Tool will launch. On the home page you can verify the validity of your license.
Go to the right side of the GTT landing page and click on the ellipsis icon. Click “Know your GTT license status”.

6.Upgrading AudioworX
Follow the below steps to upgrade AudioworX.
- Right-click the AudioworX setup file and choose Run as administrator.
The AudioworX setup file must be run as administrator. Certain Global Tuning Tool features may not work properly if you run the AudioworX prerequisites setup file normally.
If you see the User Account Control prompt that says, Do you want to allow this app to make changes to your device? select Yes.
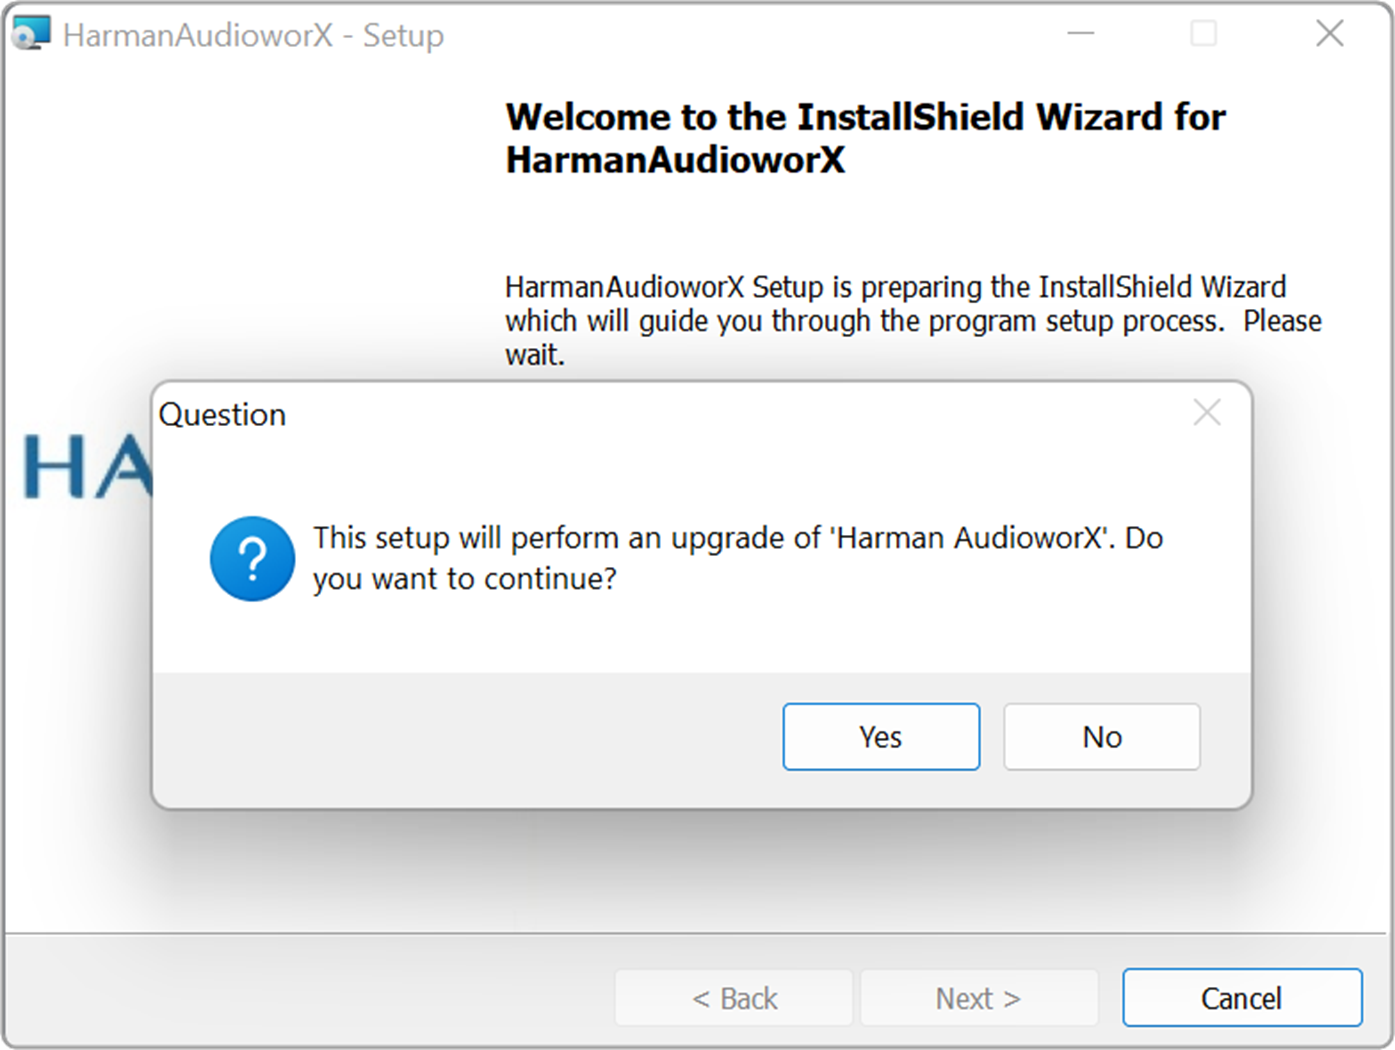
- Click Yes to confirm the Harman AudioworX setup upgrade request.
- On the AudioworX welcome screen, click Next.
- On the License Agreement screen read the license agreement carefully, accept the terms of the license agreement and click Next.
- On the destination screen, click Next if you accept the default destination folder location.
The default location is C:\Program Files\Harman\Harman AudioworX.OrIf desired, click Change to navigate to a different folder.
- On the database options screen, select any of the option Use exiting databse or Create a new database, and Next.
If you select Create a new database option, then you need to configure the database server.
If you select Use existing database option, then the setup will continue with existing database configuration.

- On server screen, connect to the server using one of the following options. (Only applicable if you select Create a new database).
By default, the wizard will connect to your local server.
Select the Windows Authentication option and click Next.
In this authentication mode, the wizard will automatically connect to your local server using your windows authentication.
Or
Select the Server Authentication option, enter the Login ID and Password, and click Next.
Use server authentication mode only if the server is available on the computer. Make sure you have server credentials details with you.
- Click Install to start the installation.
- Click Finish to complete the upgrade.