This workflow example of Signal Forge application will give you brief idea about the concepts apply to more complicated Inputs and Outputs.
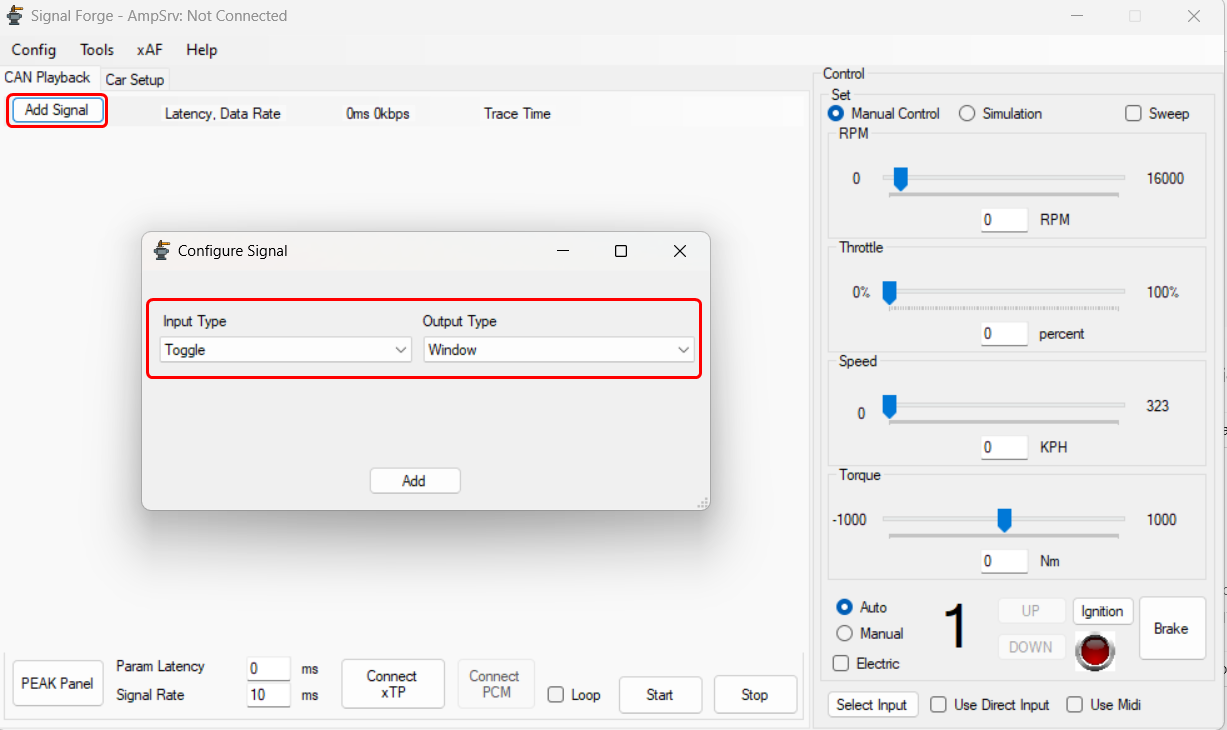
- On the Signal Forge application, click Add Signal. This will open configure signal window.
- On the Configure Signal window, set the Input and Output type from the drop-down list, and click Add.
For more details about input and output type signal, refer to Input Type and Output Type.
In the below example, the Toggle set as the input and Window set as output.- Toggle is a simple on or off switch that can send a zero or one.
- Window is more of a debugging output which can show the value of whatever input it is receiving.
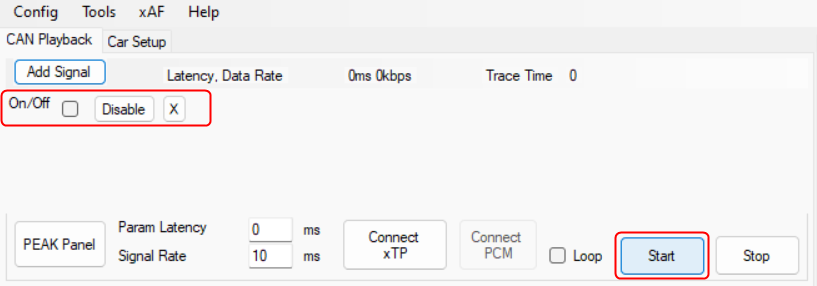
- The added signal dsiplayed on the Simulation window. This won’t do anything because processing hasn’t started yet.
- Clicking Start will initate the processing.
- Once you click “Start” a new window appears showing the value zero and the “Start” option turns to “Pause”.
- If you select the checkbox for the added signal dsiplayed on the application window, the value in the sub window updated to 1.
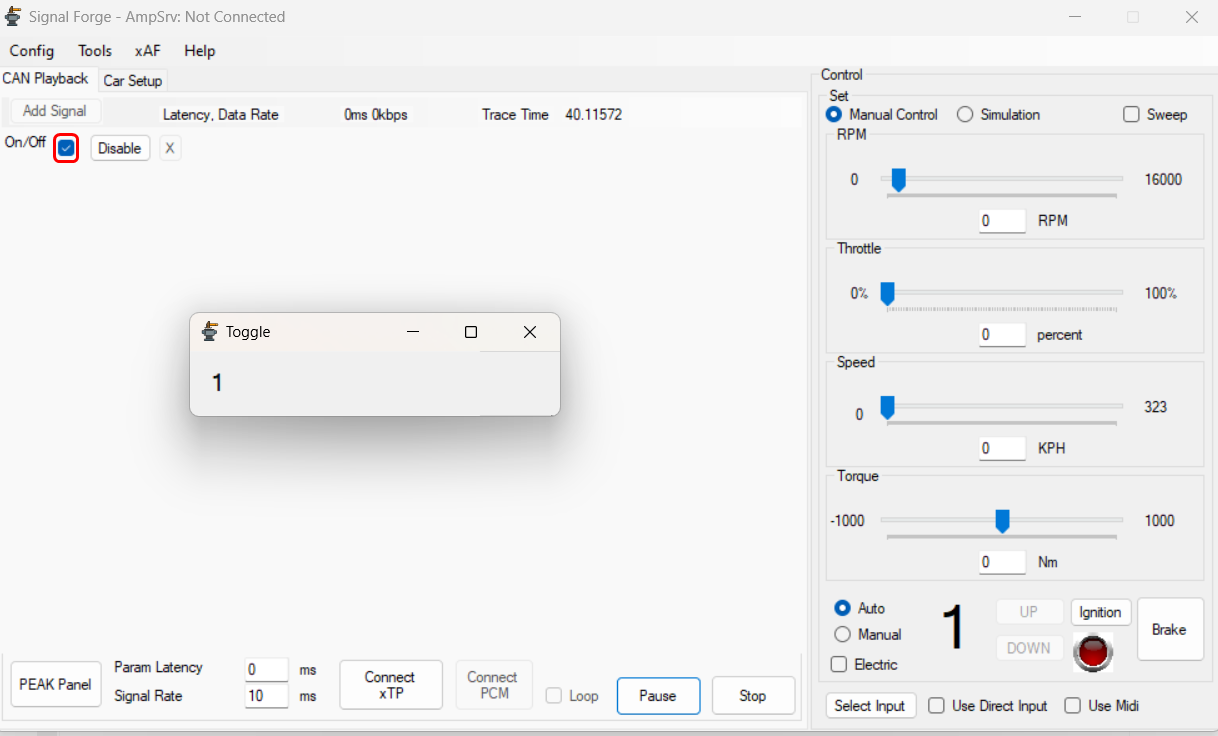
This is how signals work in this application, the input forwards a value to the output.
In general the inputs and outputs are more complicated than this simple example. For more details about input and output, refer to Signals. - Click Pause to stop processing, but keep your position in the case you are running through a pre-recorded trace input.
If you click Stop, it will stop processing and reset everything back to initial conditions. Pause will have no effect on realtime signals which don’t rely on a file, they will stop processing but will just ignore all input until resume is hit.