AmpSrv2 Settings
Open the AmpSrv2 tool. Alternately, AmpSrv2 will launch automatically when connecting to a device
AmpSrv2 surface will be displayed.
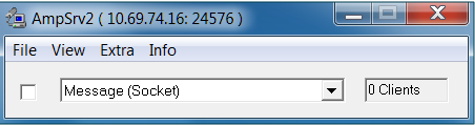
Select Message Socket from the dropdown menu
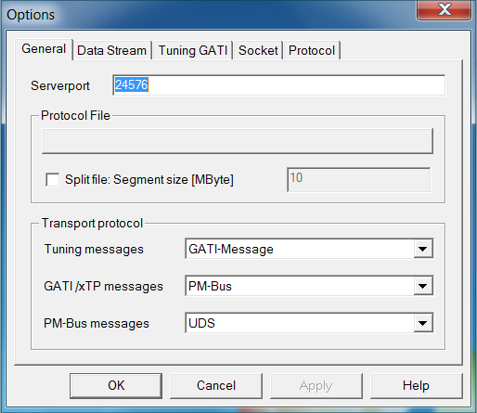
Select File > Options
The AmpSrv2 Options dialog will be displayed.
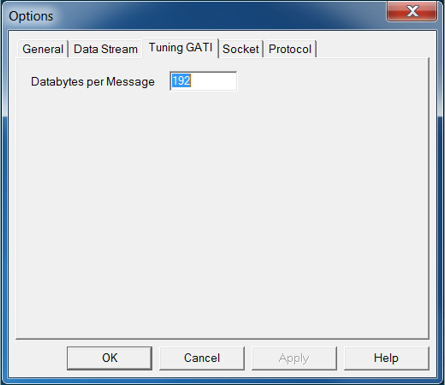
Select tab Tuning GATI and make sure Databytes per is set to 192
Select tab Socket and make sure Protocol is set to GATI
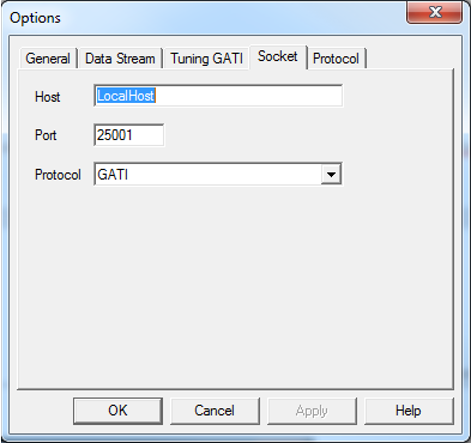
Set Port to 25001
Confirm with OK.
Connect to Virtual Amplifier
Open AmpSvr2
Select Message Socket from the dropdown menu.
Click on checkbox next to the dropdown menu.
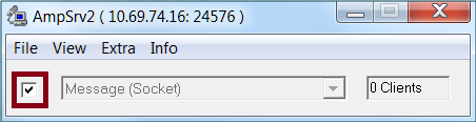
AmpSrv2 is now connected to the virtual amplifier.
If connection fails make sure you have added the virtual amplifier in IVP PluginHost settings and specified the port correctly. See [here] for details.