The Configurations section is containers for one instance of a measurement sequence of a session done with the GTT Measurement Module. The container principle enables the user to load the same measurement session several times, enabling the comparison of different source-receiver combinations and processing options.
The Configurations comprises of following options:
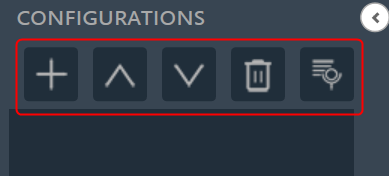
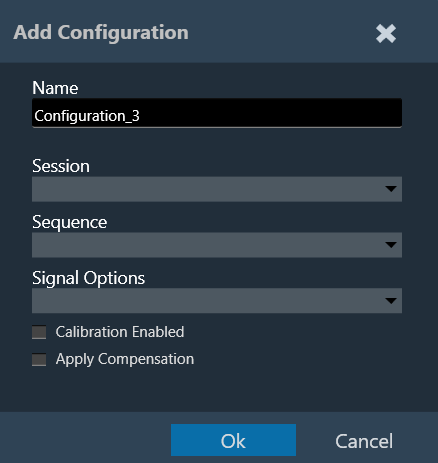
- Add Configuration: To add the loaded configuration list. The (+) button of the configuration toolbar opens the “Add Configuration” dialog.
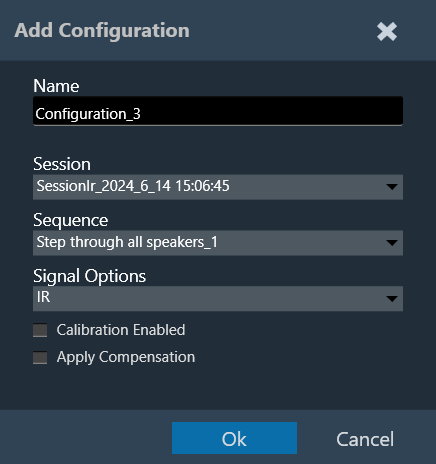
On Add configuration dialog box, you can select the session and a measurement sequence within this session. The configuration can also be named individually in this dialog. Also, there is the option to select the proper signal options (IR / Recorded) and calibration enabled checkbox as per the selected measurement session. For more details refer to “Configuration Settings”.
When you double-click a configuration, the Add Configuration dialogue appears again, allowing you to rename and reassign it. - Move Up: To move the configuration up in the configuration list.
- Move Down: To move the configuration down in the configuration list.
- Delete Configuration: To delete the configuration list.
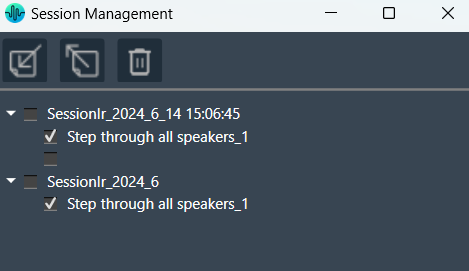
- Session Managment: The session management window offers a simple interface for the import, export, and deletion of sessions and sequences. For more details refer Session Management.
Configurations containing incomplete data (e.g., measurement sessions that have been finalized before all steps were executed) are identified. A list of missing measurements will be displayed while hovering over the respective entry in the configuration list.
Configuration Settings
Signal Type: Central Viewer is capable of displaying IR or Recording data. While creating the configuration, the signal type can be chosen.
Calibrated Data: Central Viewer is also capable of displaying uncalibrated and calibrated data (or a mix of both). Calibration can be enabled or disabled in the Add/ Edit configuration window.
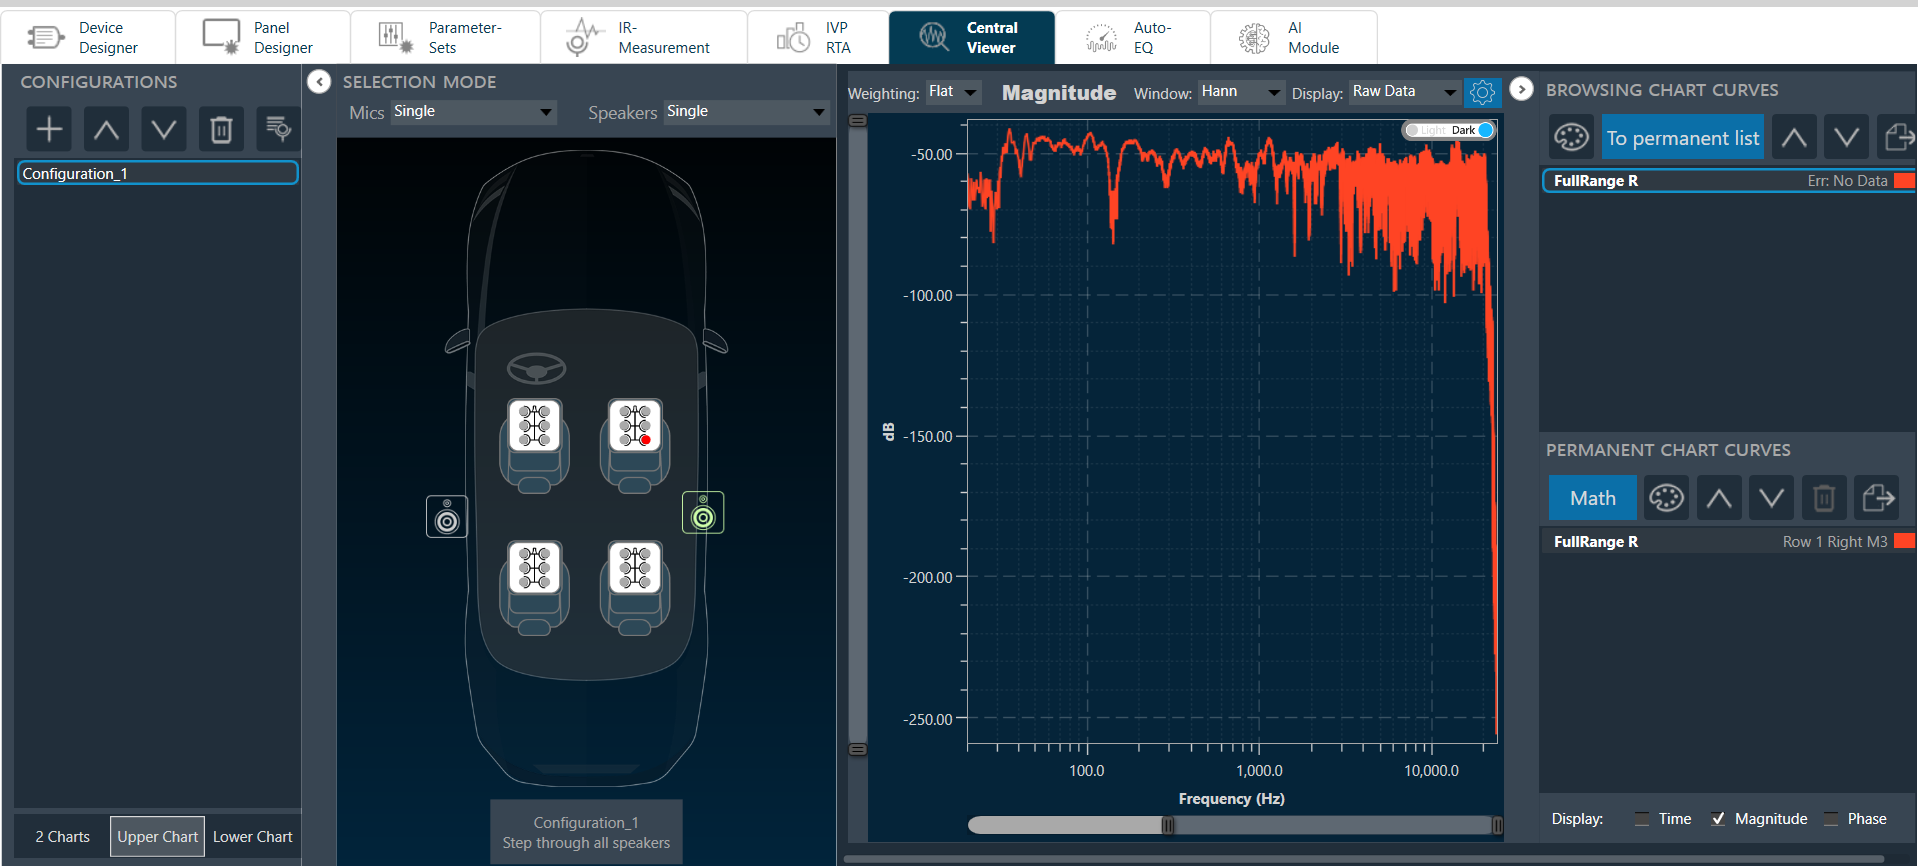
- If “Calibration Enabled” not selected, all data will be shown without applying any calibration offset (regardless of whether calibration data is available in the Session or not).
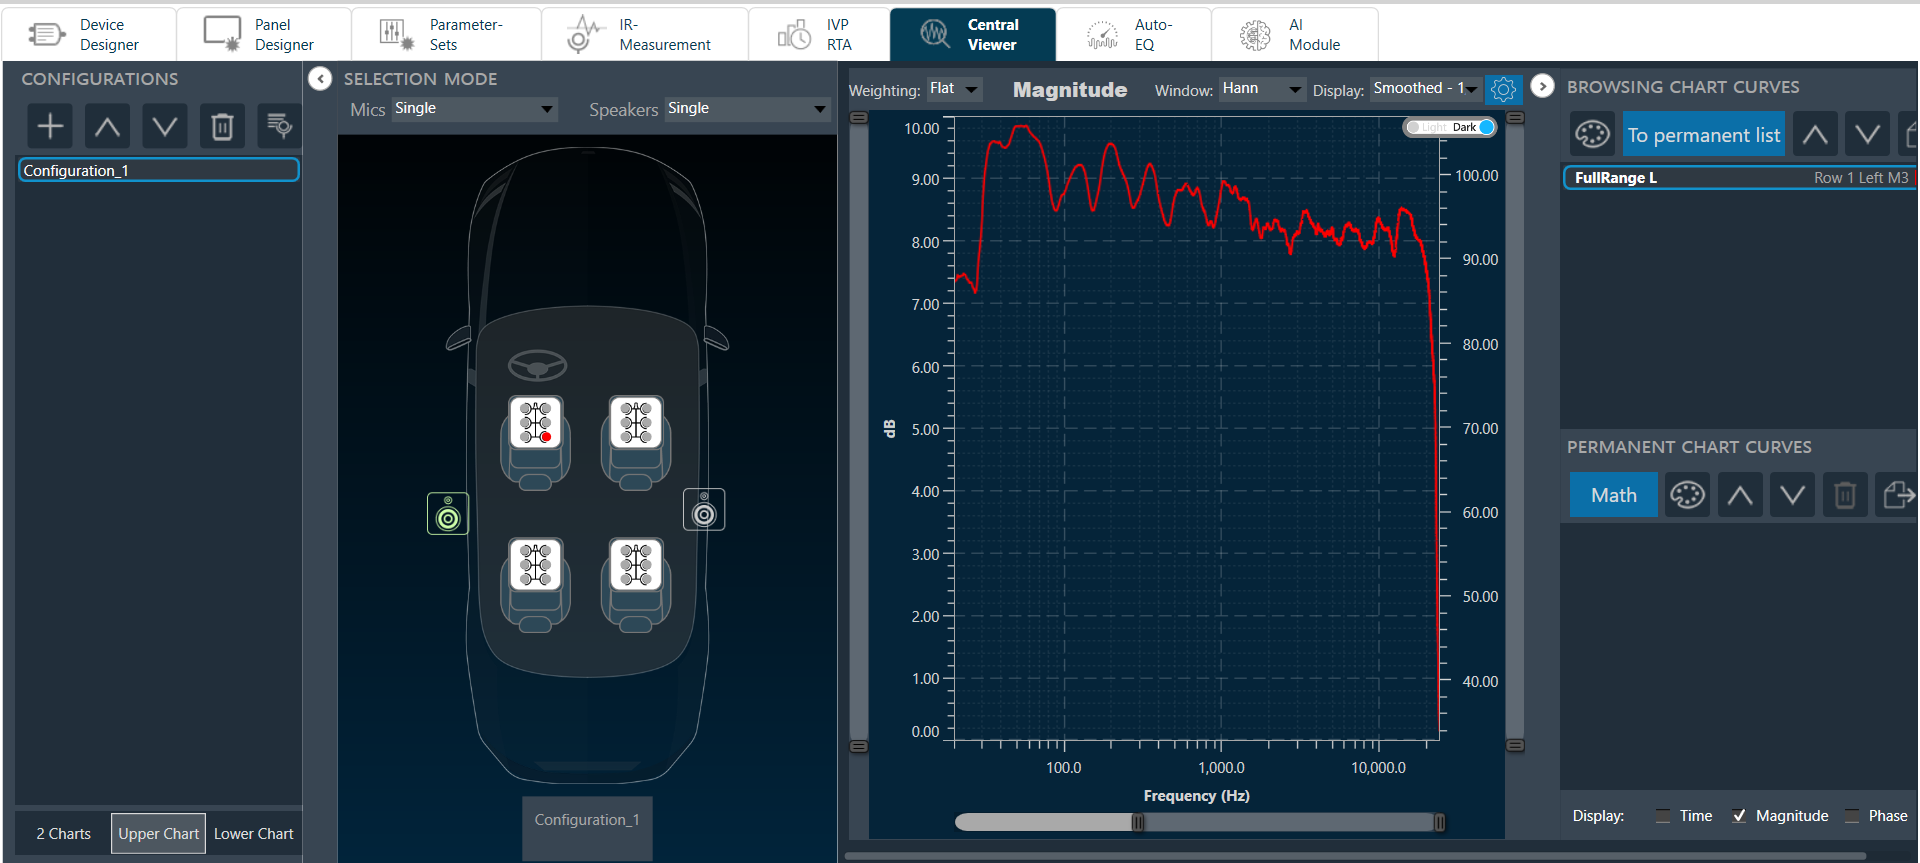
- If “Calibration Enabled” is selected, a Y axis with calibrated ranges will be available on the right side of the plot. Each series containing calibration shall be attached to the calibrated Y axis, and each series with no calibration data available, will be attached to the default Y axis (uncalibrated, on the left).
Example: Calibrated and uncalibrated data shown on same axis (calibration disabled).
Example: Calibrated data attached to axis on right, while uncalibrated data is attached to axis on left (calibration enabled).
Apply Compensation: If a compensation file is selected in the Measurement Acquisition process and based on the checked state of “Apply Compensation” in the Add Configuration view, the mic compensation data will be used for magnitude curve correction.