The GTT landing page allows you to perform various operations like creating or importing projects, opening pre-configured templates, managing audio libraries and launching default features.
The GTT landing page consists of four tabs.
-
- Projects
- Audio Library Manager
- Features
- Sample Projects
Current Project
“Current Project” button is used to go back to last selected tab in device view.

“Current Project” button will be disabled when GTT gets launched and it will be enabled once user comes back from Device view.
Clicking on “Current Project” , user will be navigated back to selected tab in device view.
More Options
On the right side of the GTT landing page, you will find an ellipsis menu that contains more options.

| Options | Description |
|---|---|
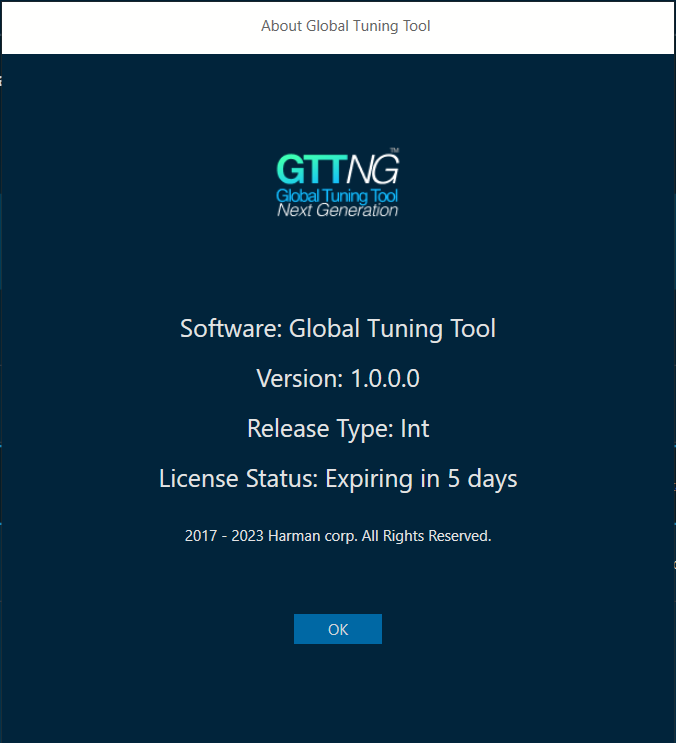
| About Global Tuning Tool |
Displays software version of Global Tuning Tool, release type, and license status.
|
| Thumbnail View | Displays the items in the thumbnail view.
The Thumbnail option is only available in Feature and Sample Projects tab.
|
| List View |
Displays the items in the list view.
|
| GTT Documentation | Navigate to the AudioworX knowledge hub. |
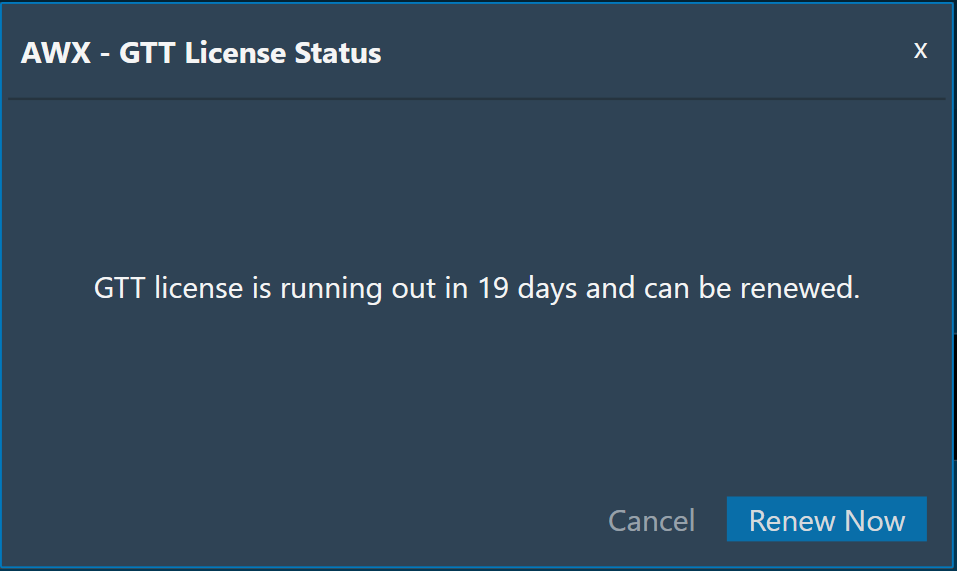
| Know your GTT license status |
Displays GTT license status. Also, you can renew your GTT license by clicking on Renew Now button.
|
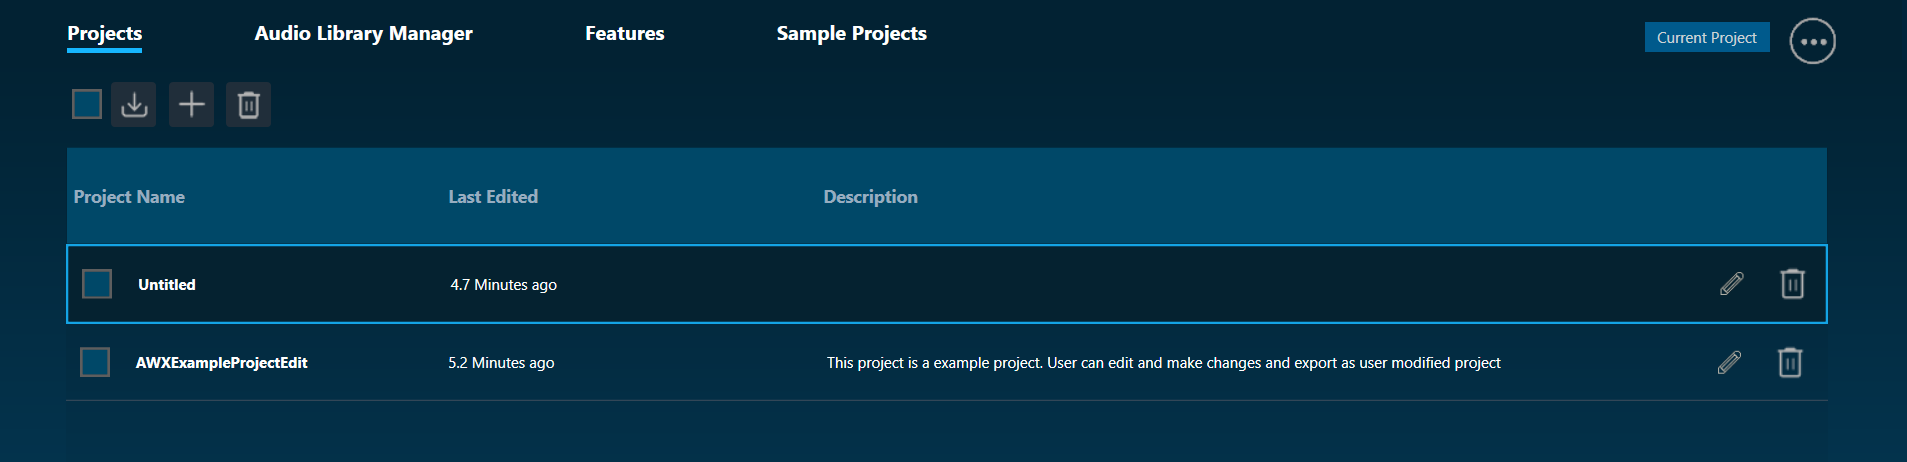
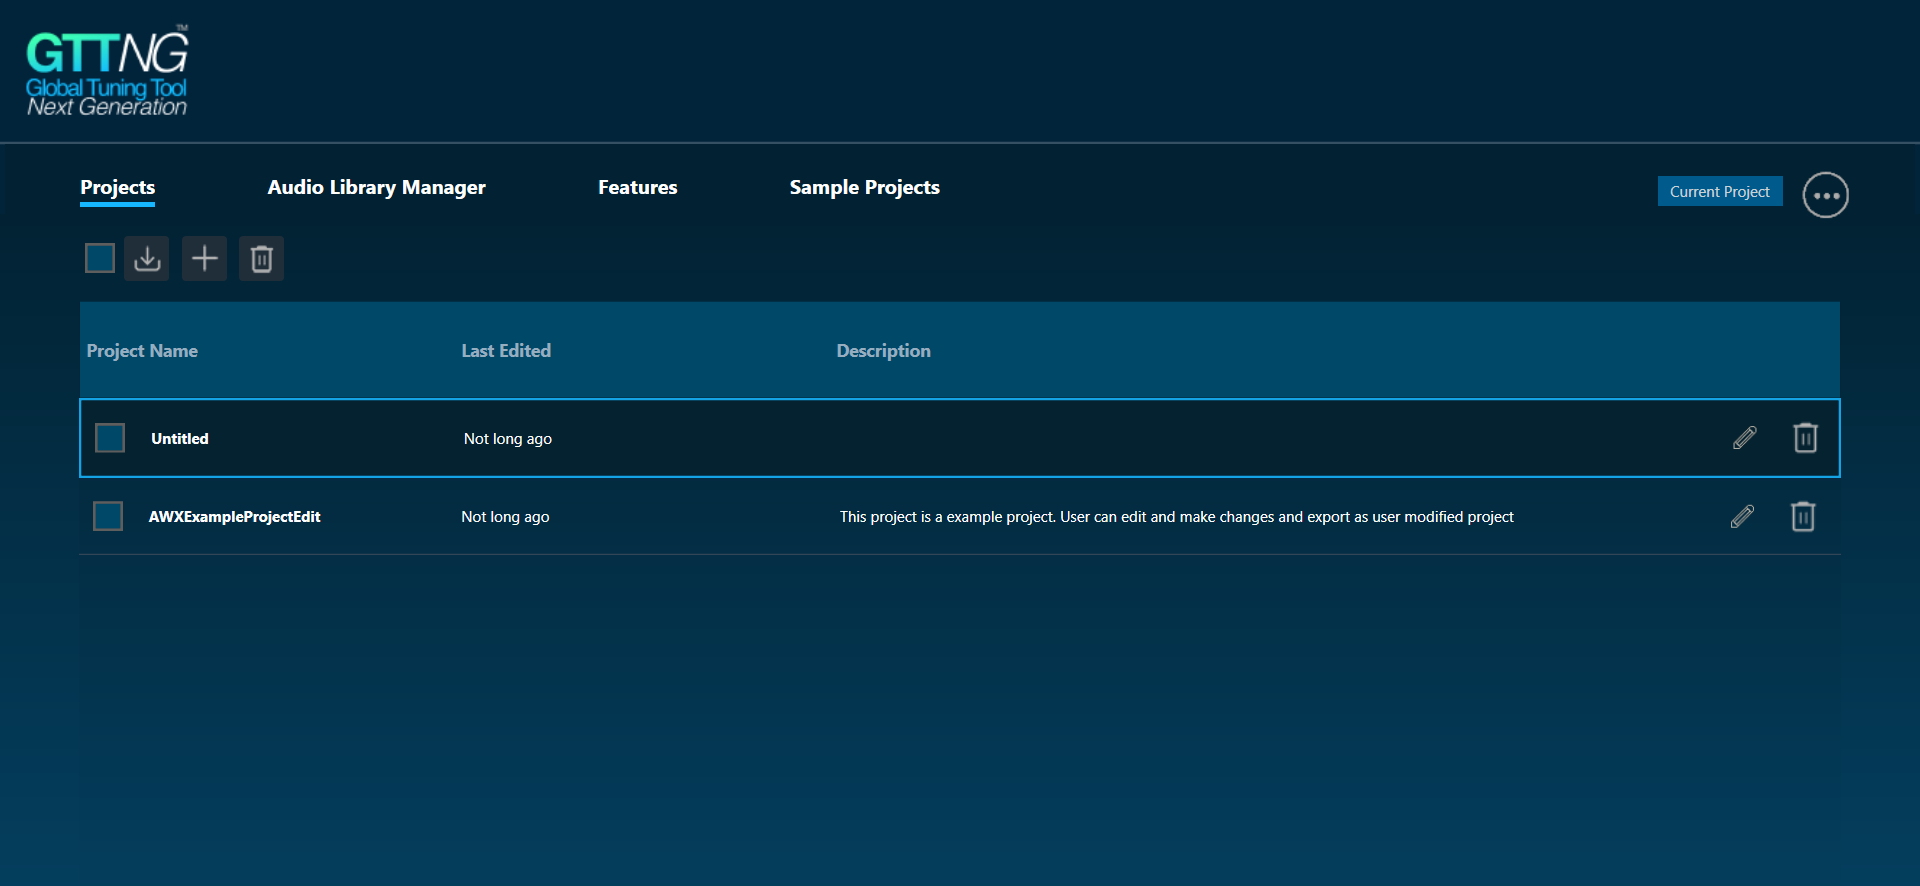
Projects
The Projects tab allows user to create, edit, delete, and import an existing project. Projects tab displays the list of projects user imported or created using GTT.
To Create project:
1) Click on sign + (which is used as button)
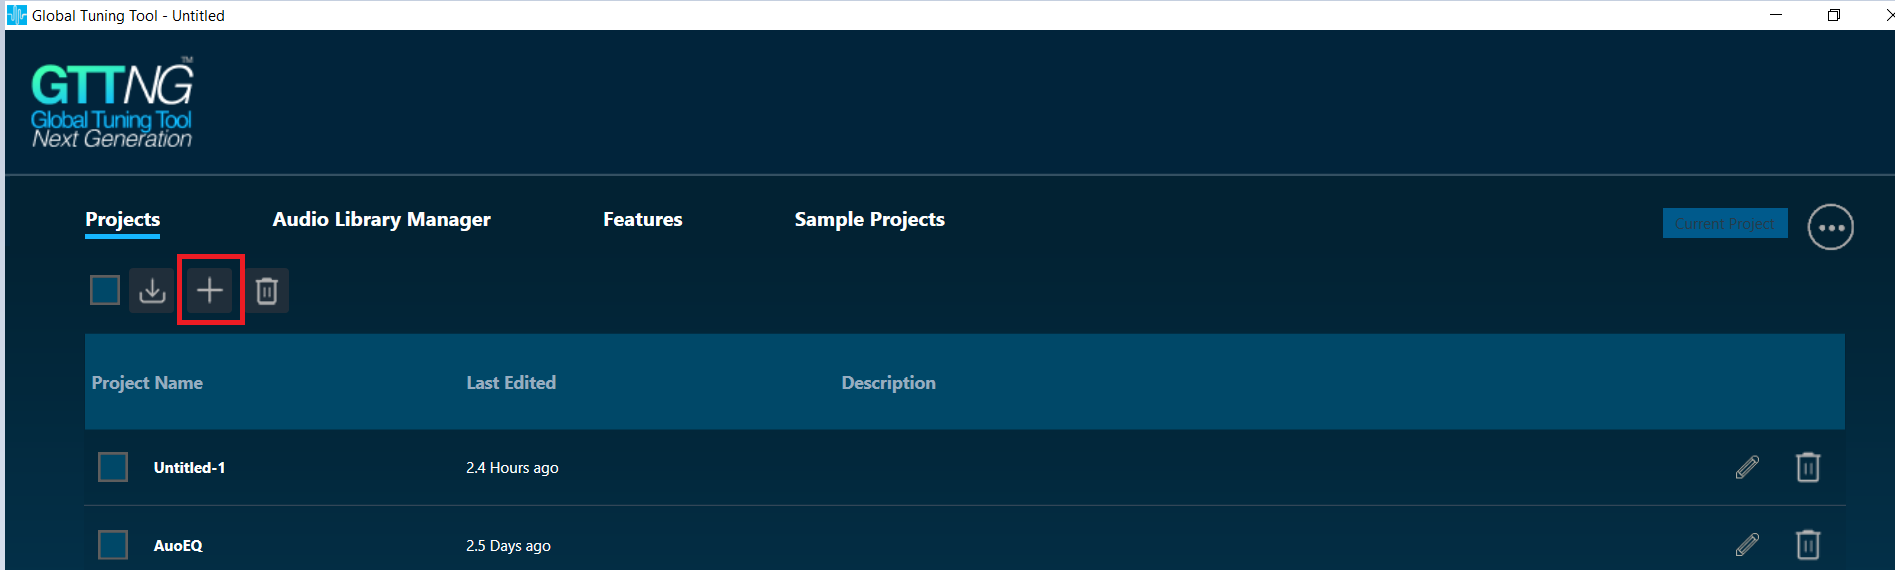
2) By default Empty Project will be selected from the list of template projects. User can select any template from the list. Project name will be auto filled on the selection of any template, user can manually change the project name by editing the default project name. For empty project by default no description is given user has to fill manually.
![]()
3) Project will be created and opened once user clicks on Create button and the Device Designer tab will be opened by default.
![]()
4) Created project will be seen on Projects tab with blue highlight. User can go back to project tab by clicking Project button under Home Ribbon bar.
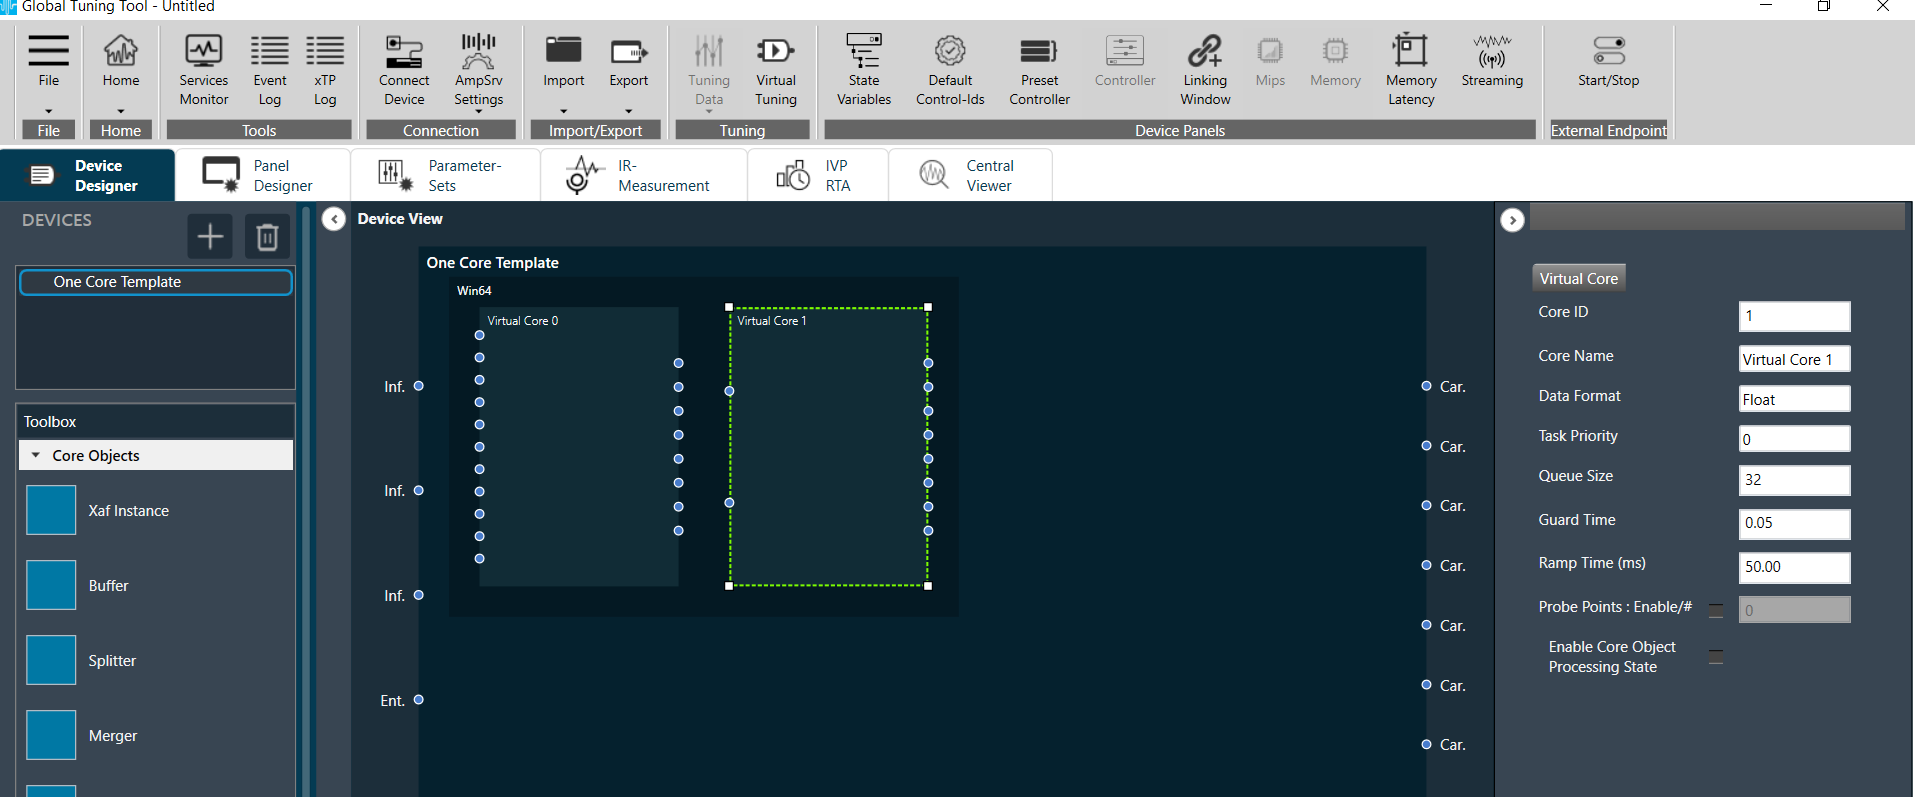
5) Description will be auto filled along with Project name if user select One Core Template. One Core Template project will be created once user click on Create button and user can see the pre-configured combination of cores.
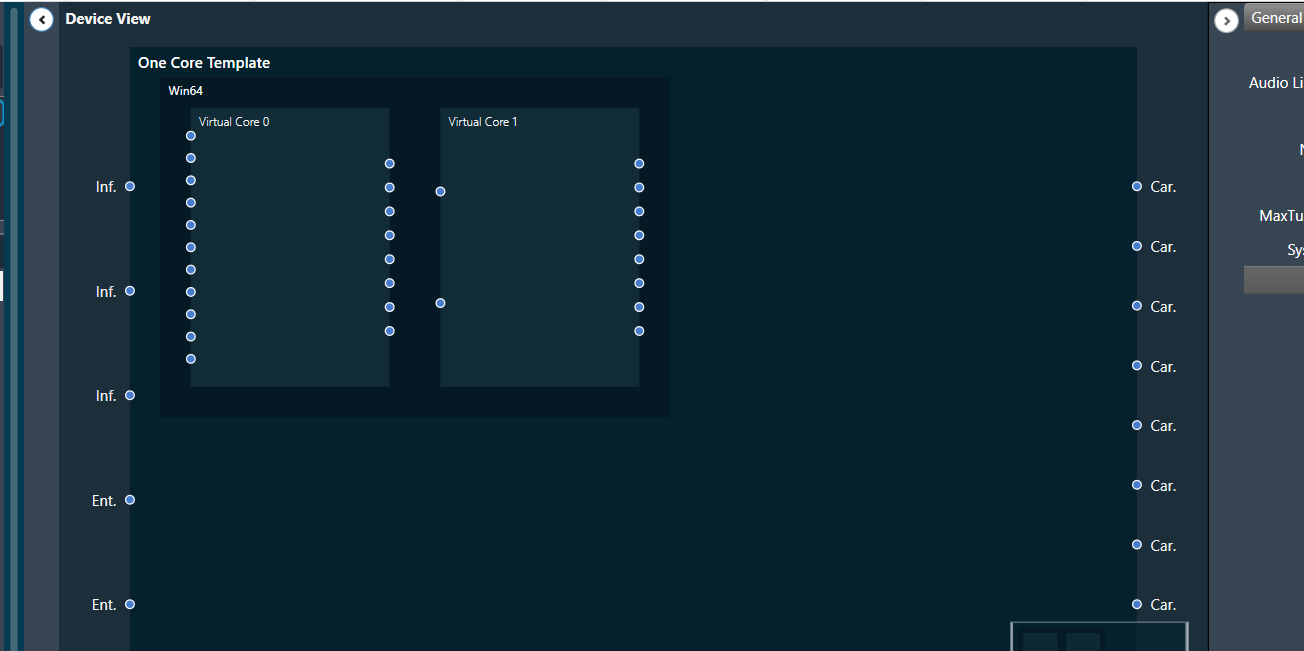
6) Configure the One Core Template using various core objects from the Toolbox.
To Edit project:
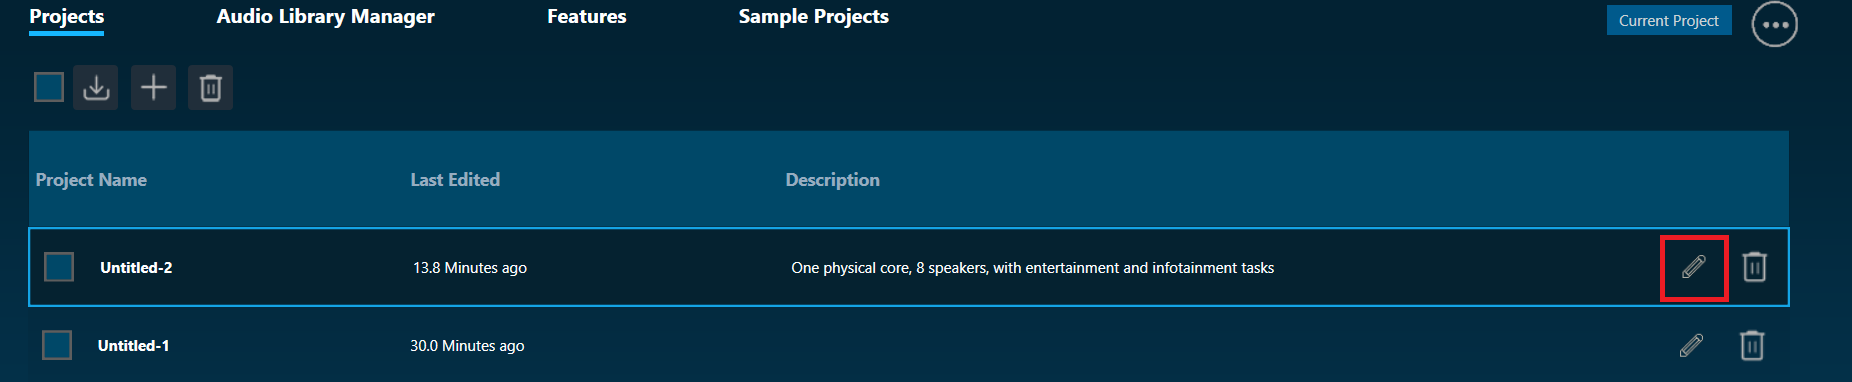
1) User can edit Project Name and Description by clicking on Edit Project button from list.
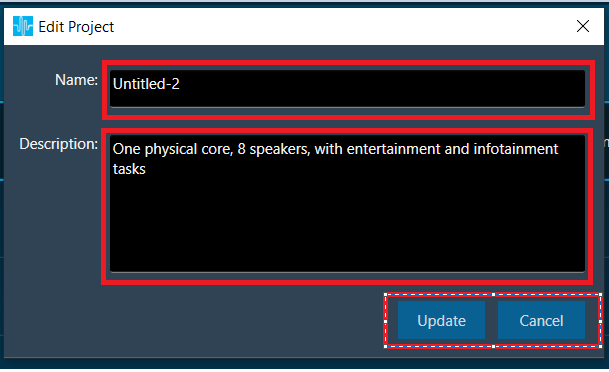
2) A pop will be opened once user click on Edit button. User can edit the project name and description in the pop up and edited value will be saved once user click on Update button. Updated value can be seen on Projects tab. User can cancel the edited value by clicking on Cancel button
To Delete project:
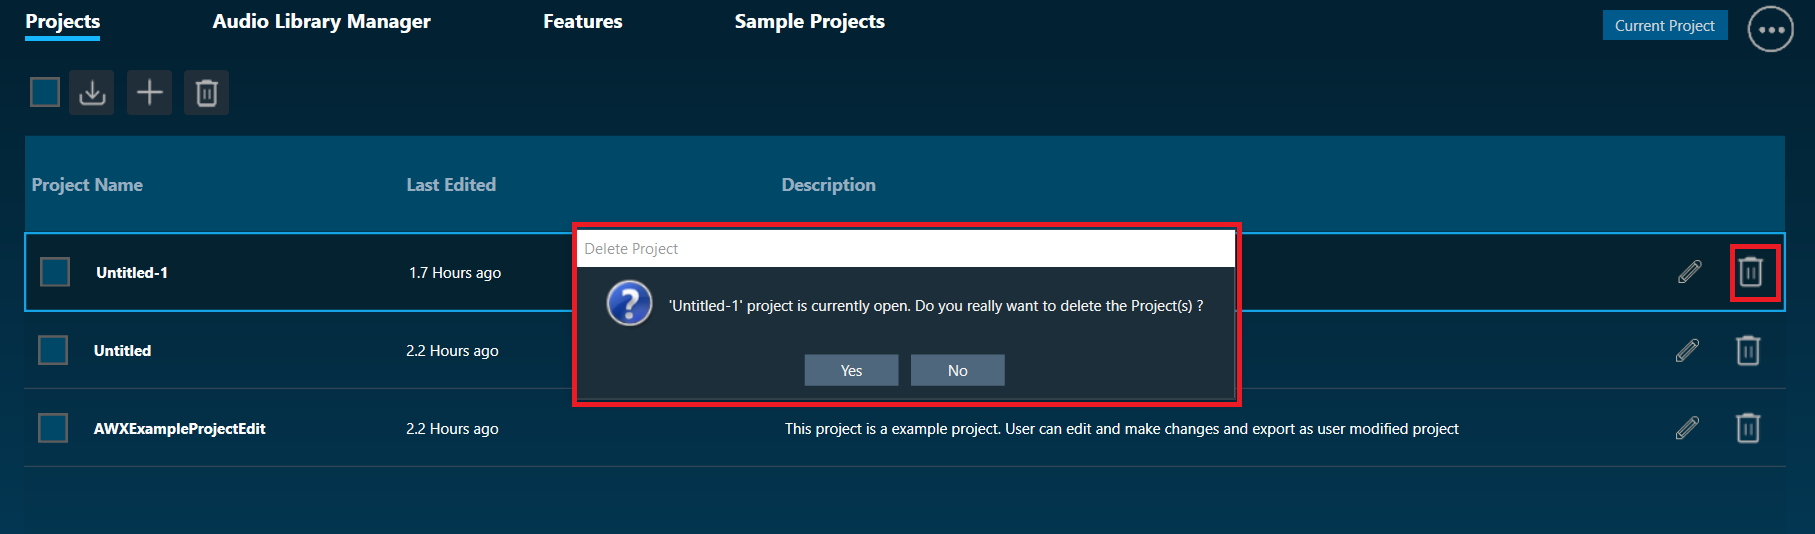
1) User can delete project by clicking on delete button. If project is opened, user will be prompted to delete opened project confirmation. Deleted project cannot be seen in the project list under projects tab.
2) User can delete multiple projects by selecting the each checkbox and clicking on Delete Projects button on top. Selected projects will be deleted and cannot be seen in the project list.
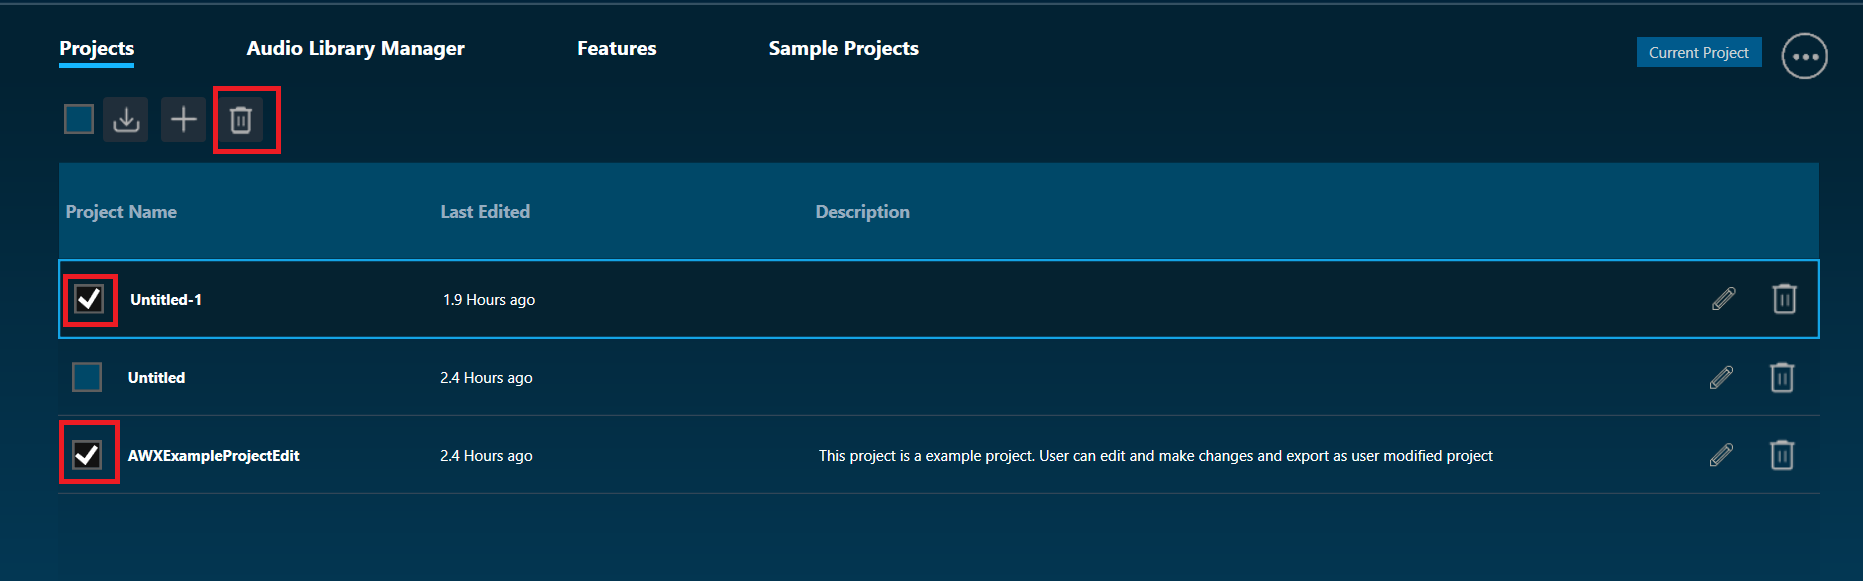
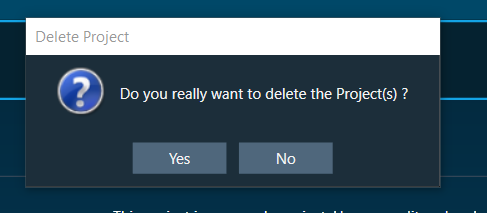
3) User can delete all the projects in one go by checking checkbox on the top and clicking on Delete Projects button(top right).

User will be prompted to a confirmation for deleting projects.
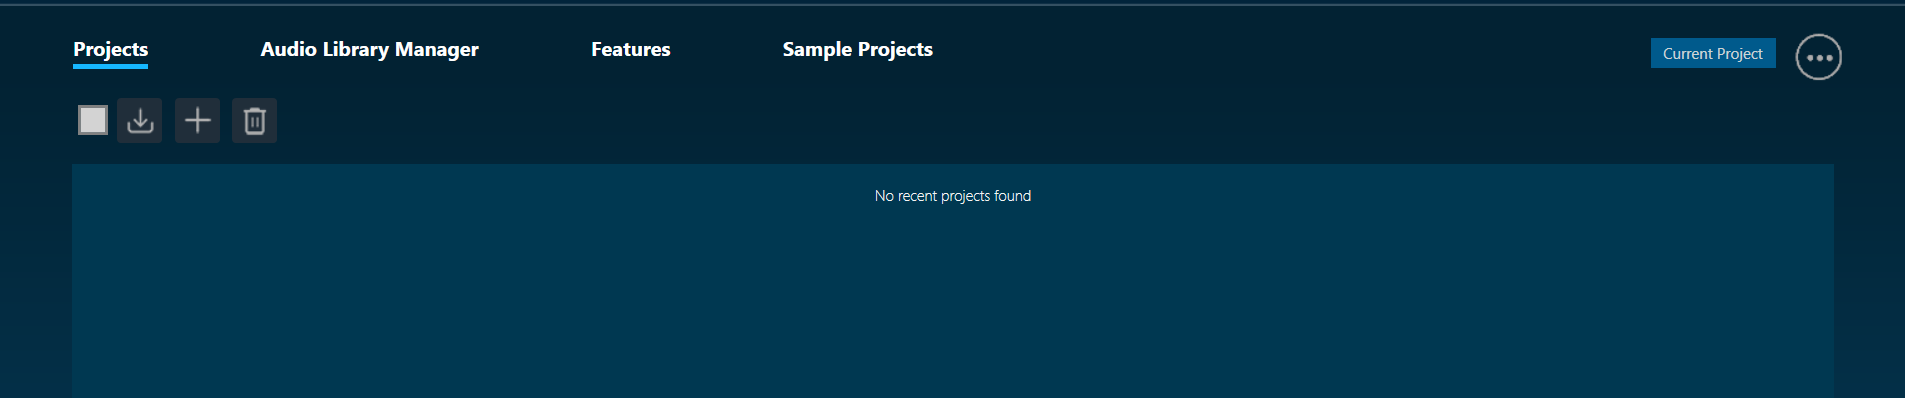
4) No Project will be seen after deleting all the projects from the list.
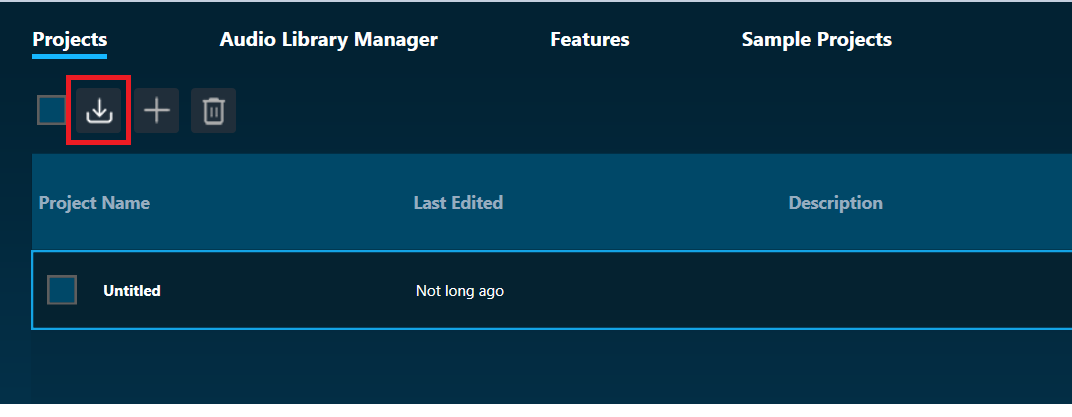
To import an existing project:
1) User can import project by clicking on Import Project Button.
2) User will be prompted to a confirmation for closing the project if a project is already opened.
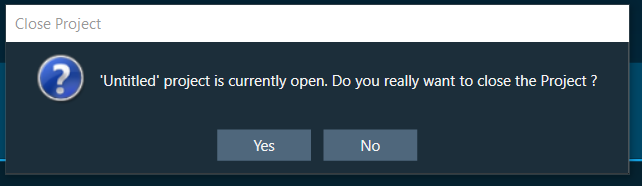
On click “Yes”, file browser will be opened to browse the existed project. On click “No” import will be cancelled.
3) Navigate to the folder, select the existing project, and click Open.
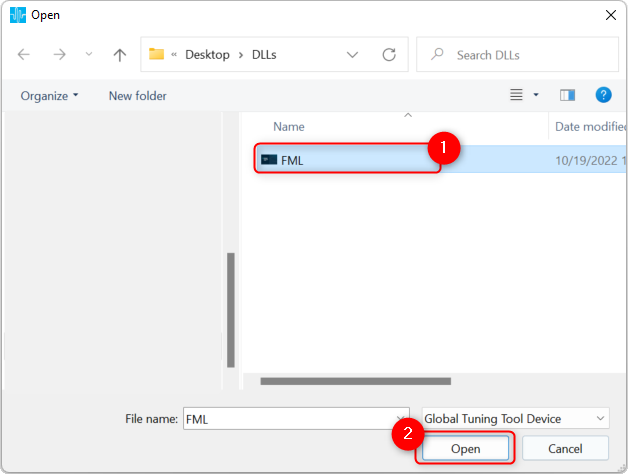
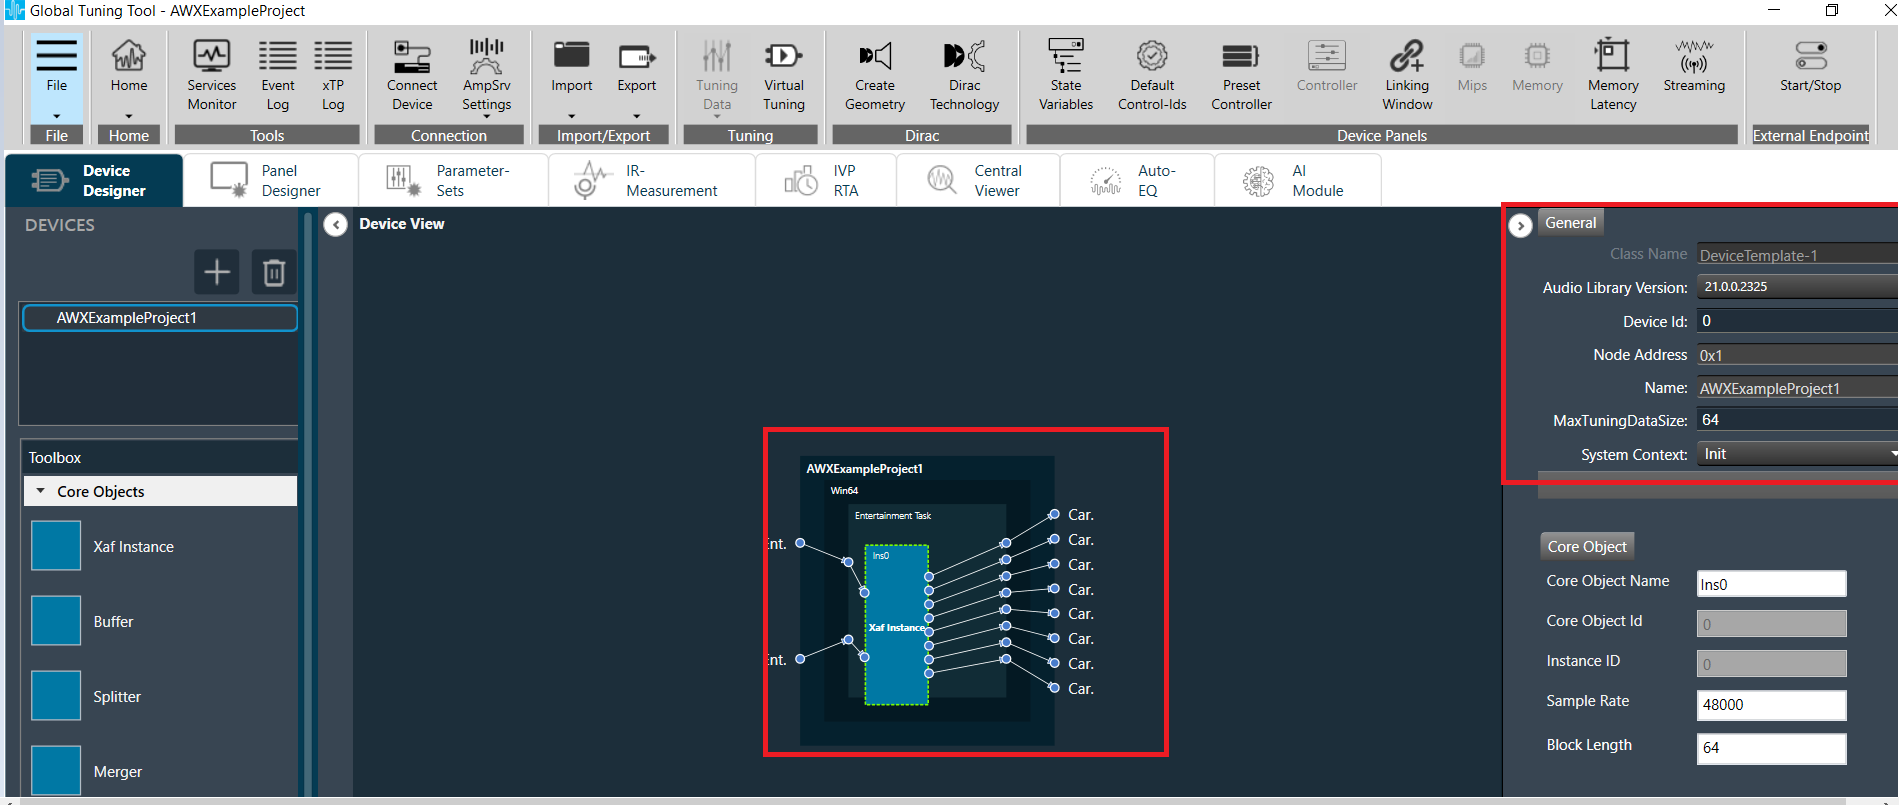
This action opens the existing project in the Device view.
To open an existing project:
- To open an existing project listed in the Projects tab, double-click on the existing project.
- Opened project will be highlighted with outer border.
Audio Library Manager
Audio Library Manager can be used to manage multiple xAF audio libraries loaded in GTT.
All xAF audio libraries loaded in GTT will be displayed once Audio Library Manager tab is clicked.
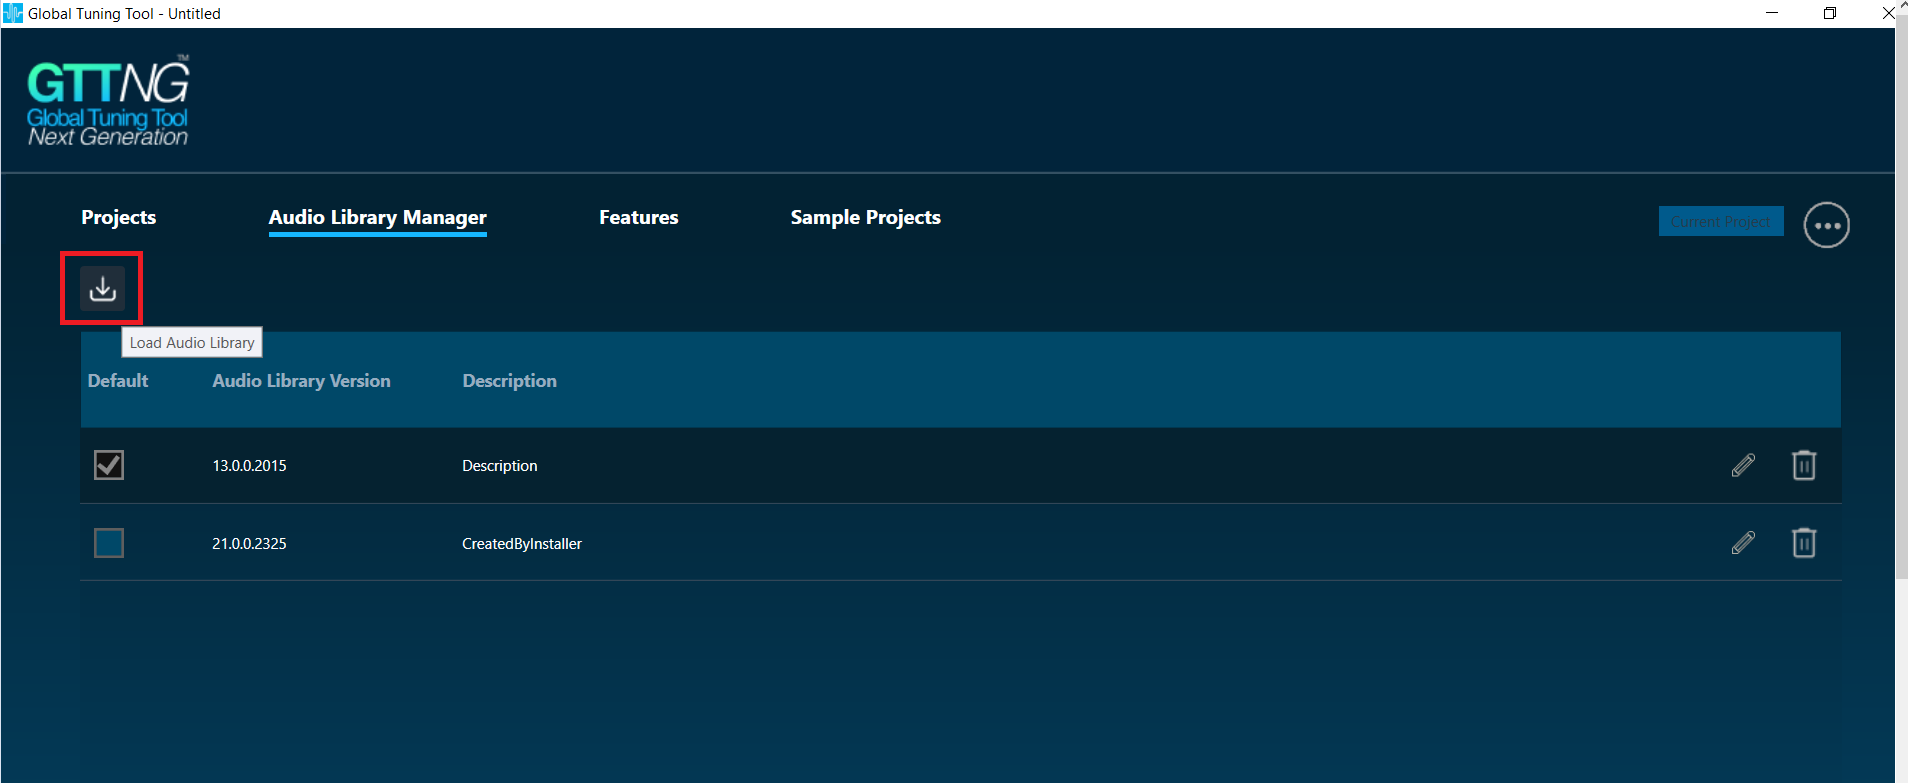
Manage audio library
Multiple xAF libraries can be loaded by clicking on “Load Audio Library” button from Audio Library Manager page.
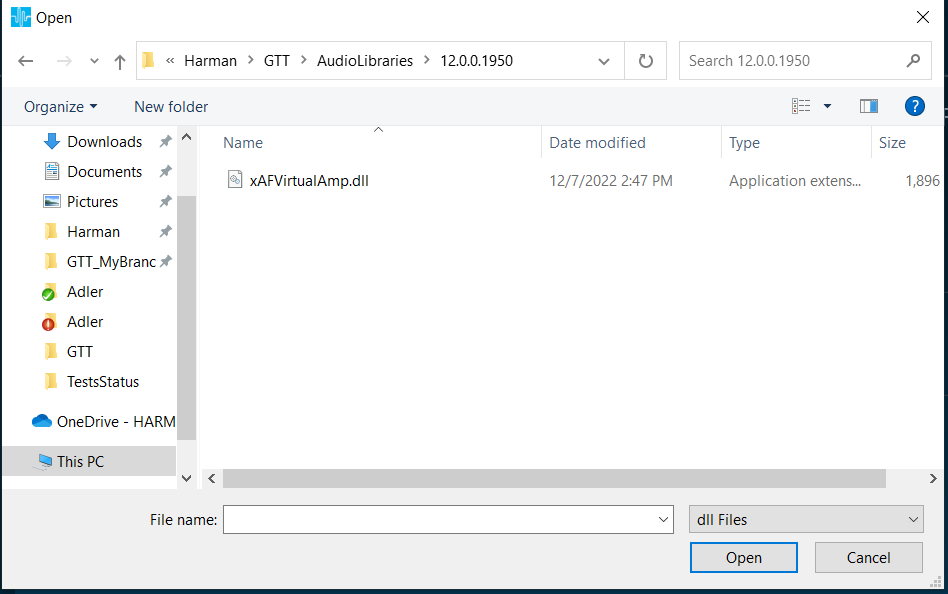
xAF audio library to be loaded can be selected using the File dialog
After extending support for multiple libraries, each version of xAF libraries will be separately stored for simultaneous use in GTT. Prior to this, existing xAF dll was overwritten when another dll was loaded and user could work with only single xAF dll version in GTT at a time.
Once the audio library is successfully loaded, it will be set as Default version .
If same xAF library version is already present in GTT , a prompt will be displayed before overwriting the dll.
User should start GTT with “run as administrator ” option , to use this feature
The default audio library version set from this screen would be used for basic GTT operations – Add Device/ Discover Device/Project import (if last saved audio library is not loaded in GTT).
- Default audio library version can be set using selecting the checkbox for the audio library version row .
- Only one audio library version can be set as default.
- Settings shall be saved once check the selected audio library.
On GTT installation, latest audio library will be loaded automatically and set as default.
Audio Library loaded to GTT using ‘Load Audio Library’ feature would be set as Default on successful loading.
Audio Library Version displays the file version of the dll.
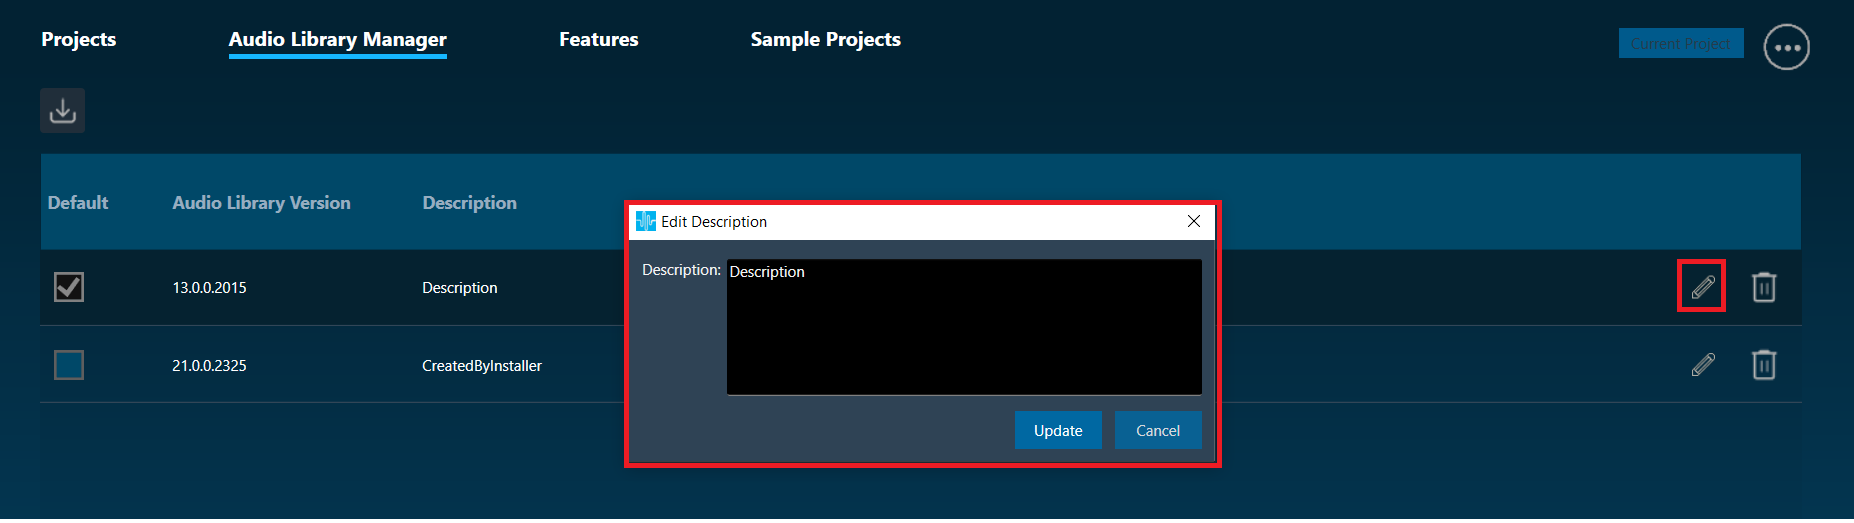
Description can be used to describe the dll version. This field can be modified by clicking on Edit Description button and edited description will be saved once Update button is clicked from pop up window. On cancel no description update will not happen.
Delete: audio library can be deleted on clicking Delete icon.
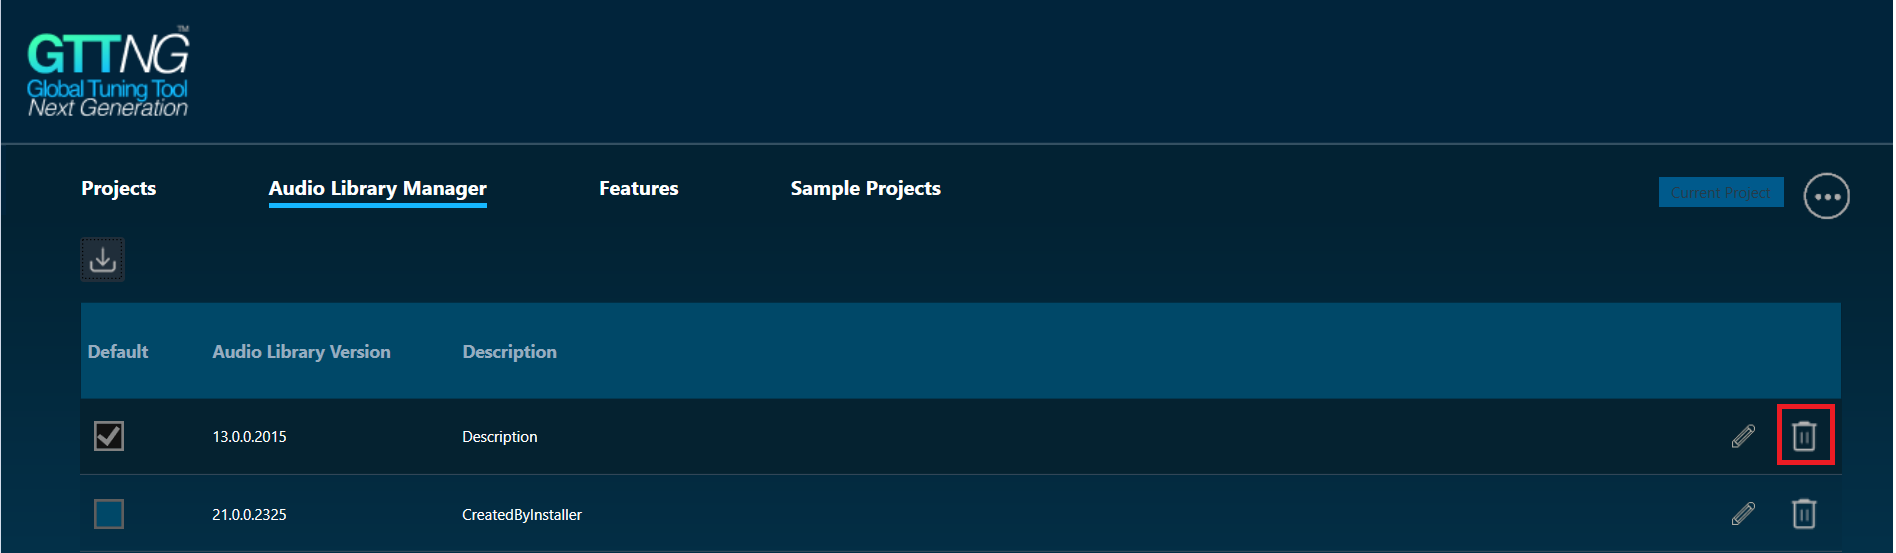
User should be running GTT with “run as administrator” option to delete Audio Library.
Audio libraries can be deleted only when associated device and compound audio objects are deleted.
Audio library which is set as default cannot be deleted.
Any unsaved settings should be saved before audio library delete.
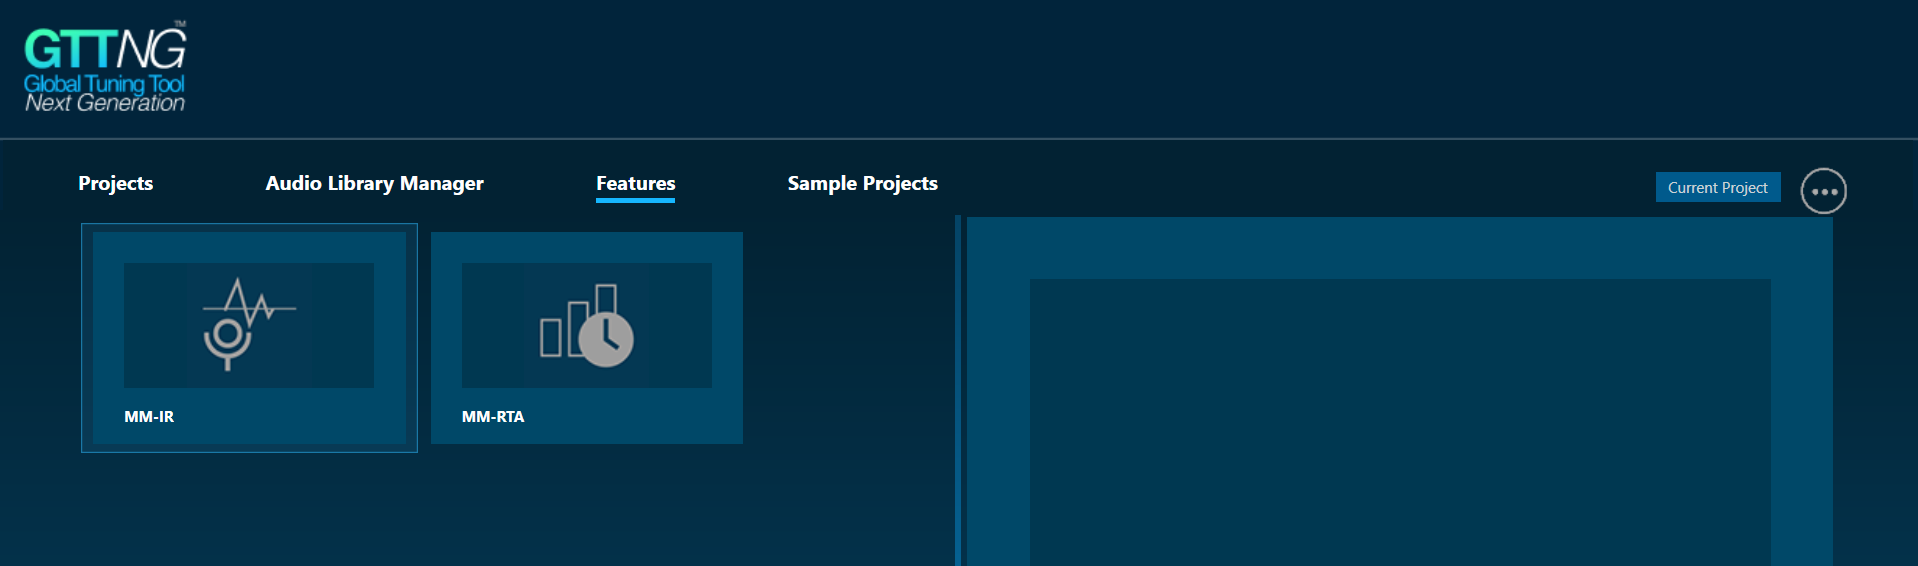
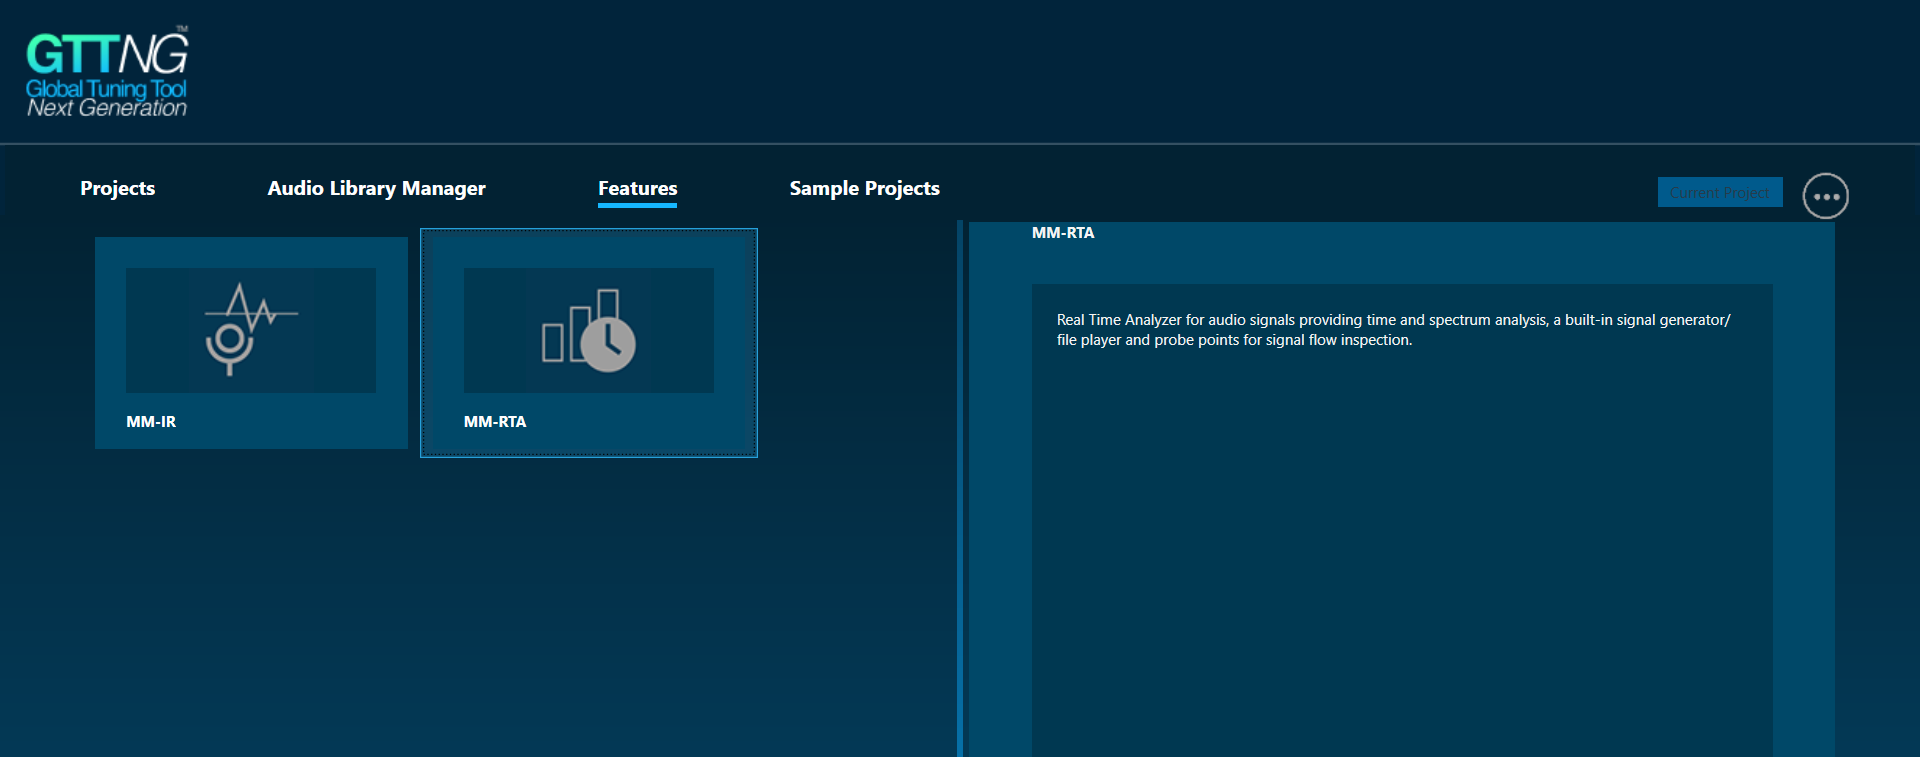
Features
The Feature tab consists of MM-IR (Measurement Module for synchronous and asynchronous impulse response measurement, and recording) and MM-RTA (Measurement Module for Real-time Analyzer).
MM-IR
The MM-IR defines the Measurement Module for synchronous and asynchronous impulse response measurement and recording. A device is not necessary for the Measurement Module to function in the project. The Measurement Module enables direct sound card measurements without an intermediate device, whereas tests controlled by gain channels can be carried out via a device. On single-click on the MM-IR, you can see the description of MM-IR.
To open the Measurement Module dashboard, double-click on MM-IR.

For more information, refer to GTT Measurement Module 2.0 User Guide.
MM-RTA
The MM-RTA defines the Measurement Module for a multi-channel Real-time Analyzer for audio signals.
It provides time and frequency domain analysis tools for measuring RMS/peak levels, frequencies, THD, delays, magnitude, and phase responses. In addition, a built-in signal generator provides sine tones, sweeps and pulses, and various noise signals. Analyzing recorded signals is possible with a file player. On single-click on the MM-RTA, you can see the description of MM-RTA.
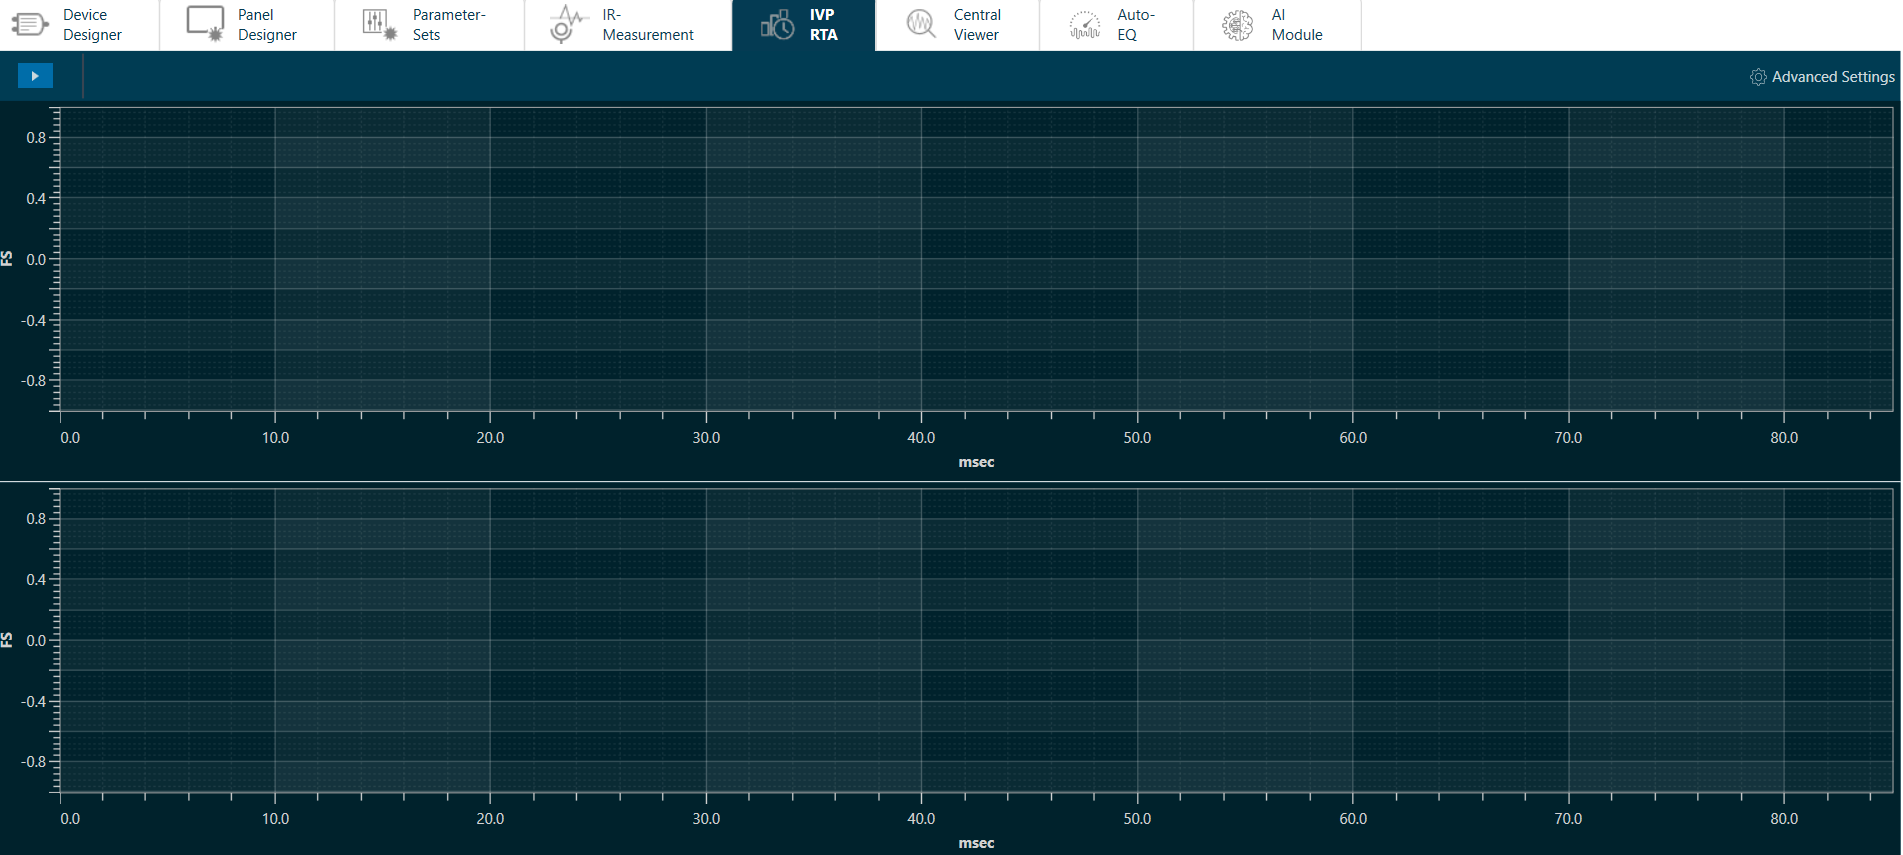
To open the Measurement Module dashboard, double-click on MM-RTA.
For more information, refer to Real Time Analyzer User Guide.
Sample Projects
The Sample Projects tab allows you to get access to the sample project. This will help you to understand how various audio objects are configured in the Signal Flow Designer.
On the right side of the tab, the description of the corresponding project is displayed.
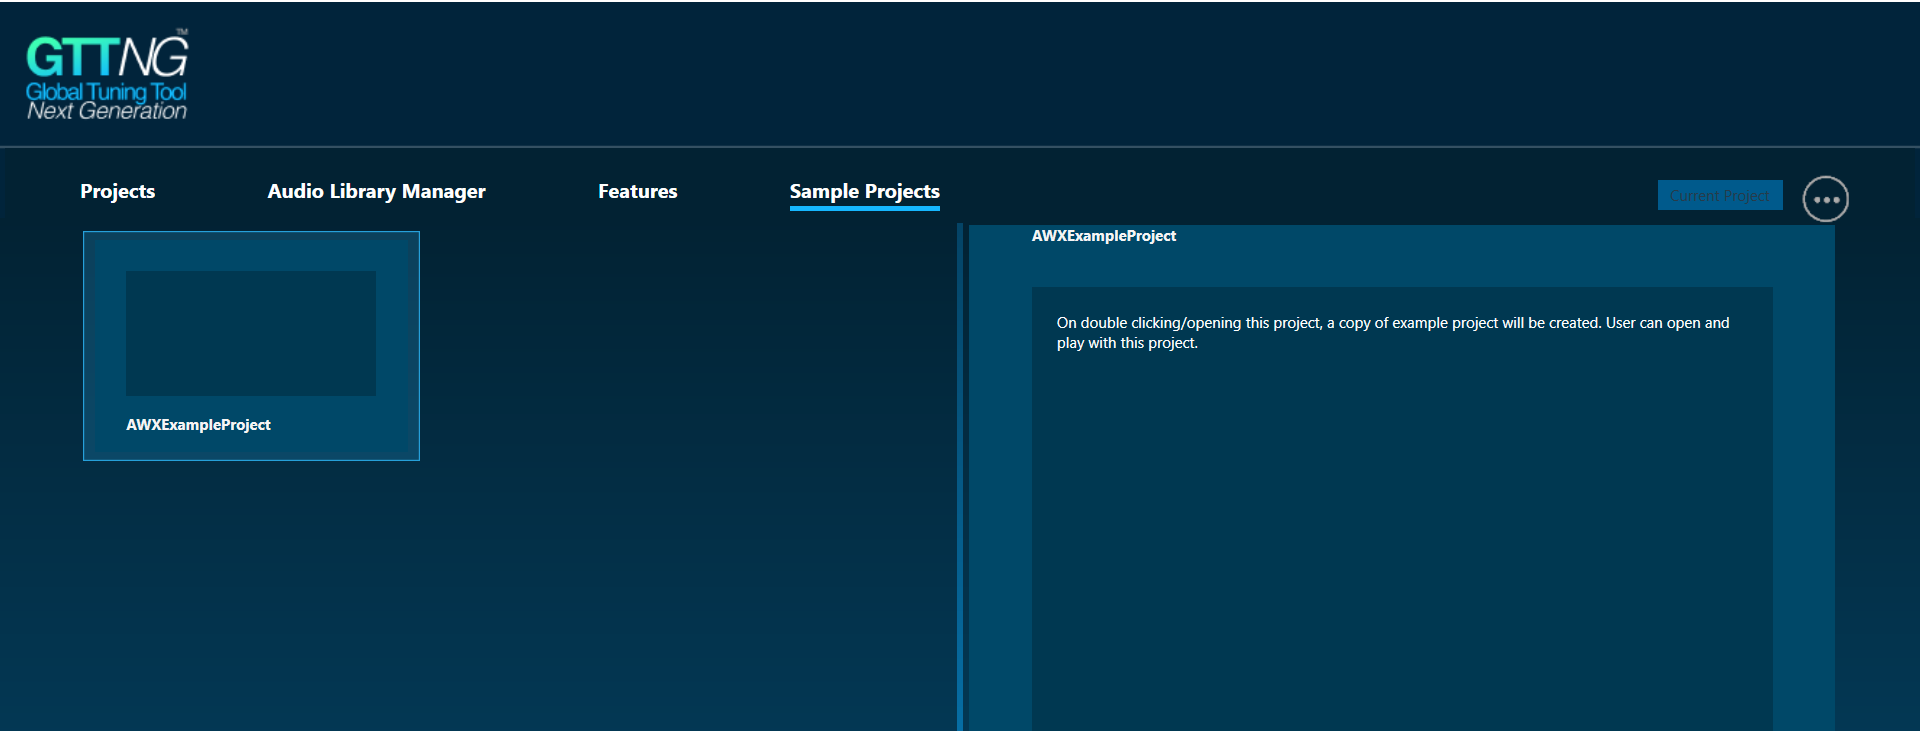
To open example projects:
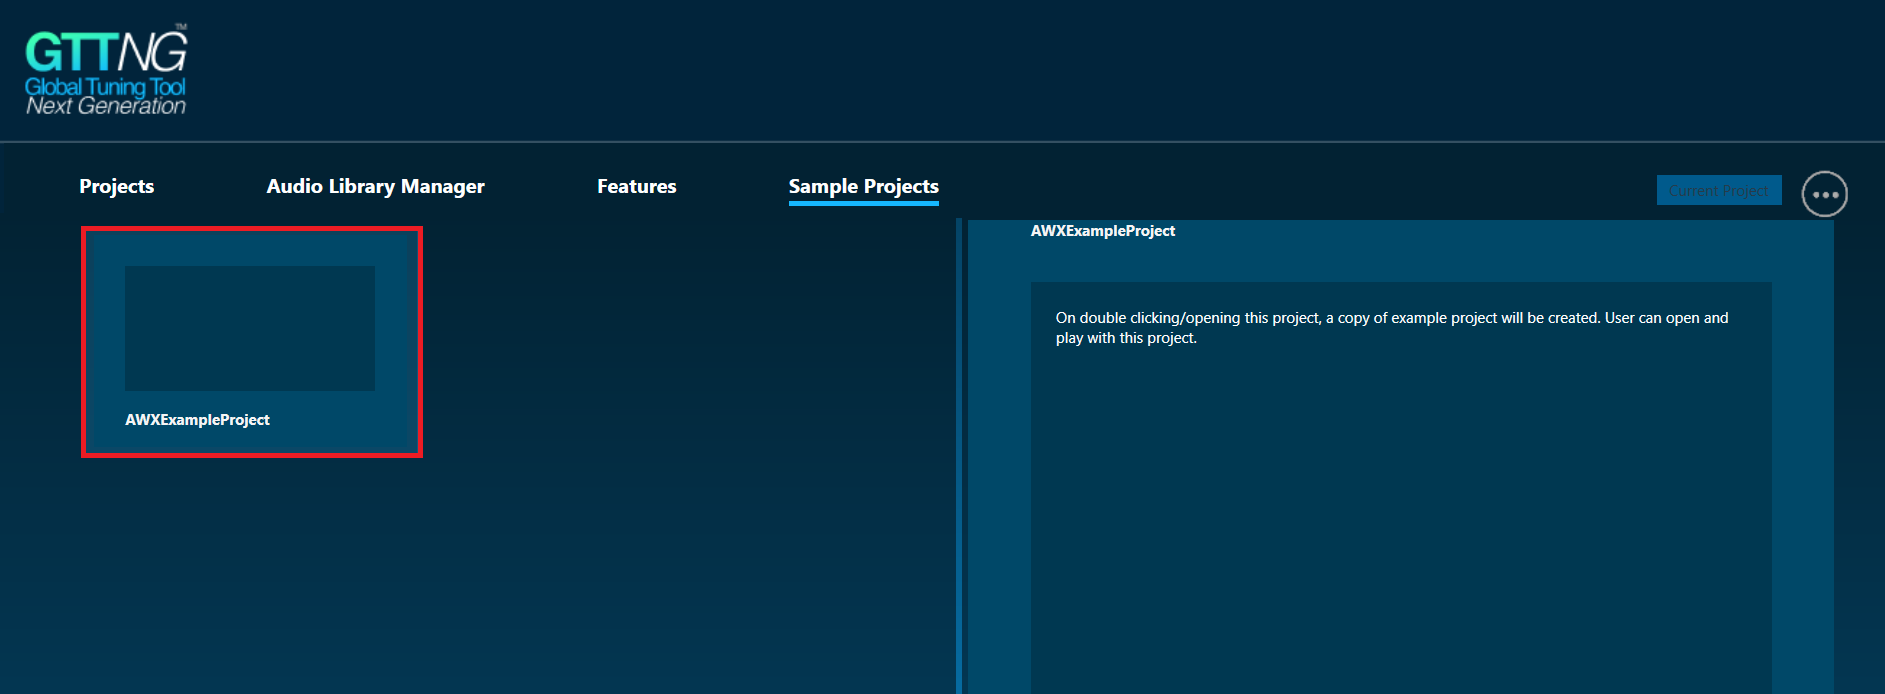
- On the GTT landing page, select Sample Projects.
- Single-click on the AWXExampleProject to see the example project description.
- Double-click on AWXExampleProject. This action will create a copy of the example project and open it, user can create any number of copies by double-clicking the example project.
After opening the AWXExampleProject, user will be navigated to Device design view.