This chapter explains the steps to run VST3 AudioworX Plugin in Reaper [3].
- Open the tool, Reaper
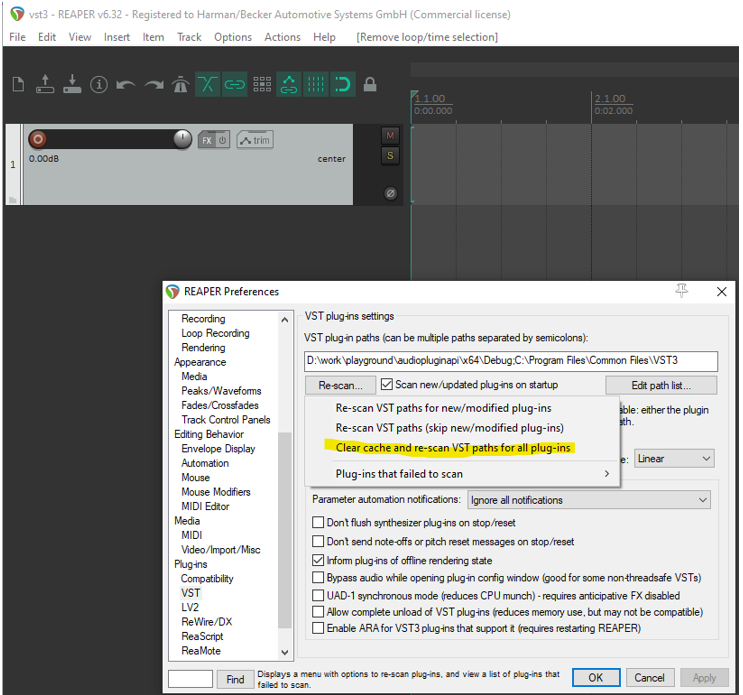
- Go to Optionsà Set the VST Plugin path to C:\Program Files\Common Files\VST3. It can also be set to any custom path where the VST3. AudioworX Plugin, ‘virtualAmpVST3.vst3’ is located

Figure 4.2 – VST Plugin settings - Click on Re-scan, and select clear cache and re-scan
Click on Insert —->New Track to insert a new track (or Press Ctrl + T)
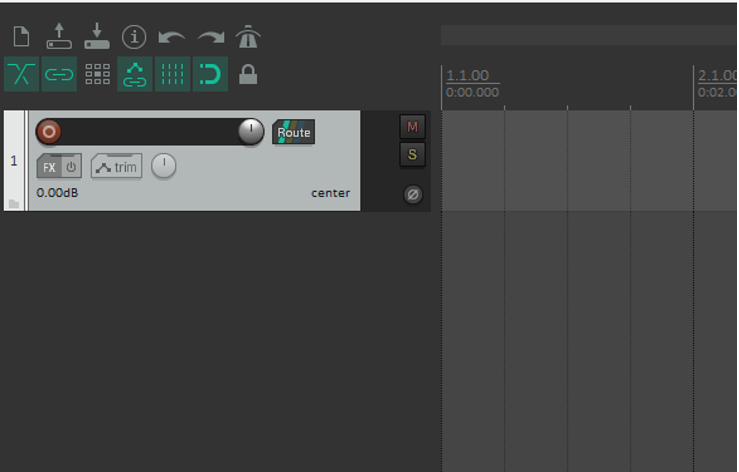
- The Audio configuration is stereo by default in Reaper. To support Multichannel Signal Flows, click on the Route Button in the Track and select the number of channels in the Track channels drop down. This number has to be equal or bigger than the max value from your Device inputs and outputs configured in GTT.
- Example: 3 Inputs, 7 outputs -> Track channels need to be set to 8

Figure 4.5 – Selection to set channel Configuration 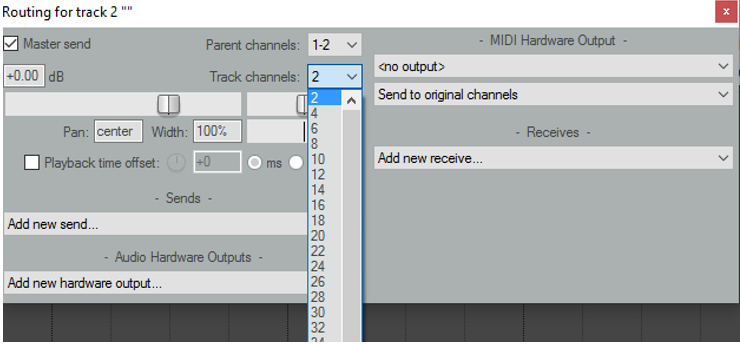
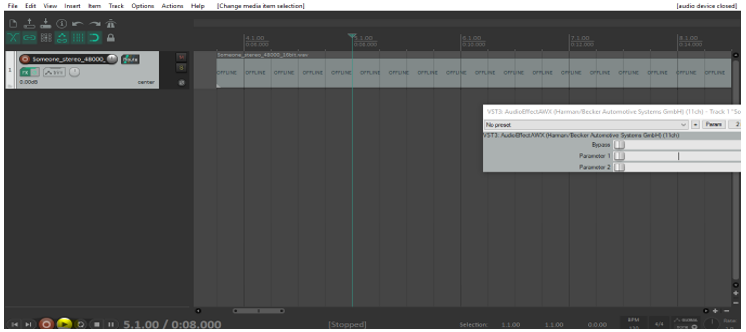
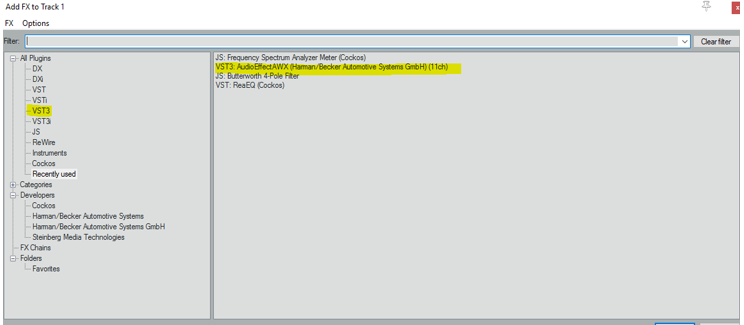
Figure 4.6 – Selecting Number of Channels - Click on the FX Button to add the AudioworX VST 3 Plugin. The plugin can be selected from the tab VST3. Search for the entry AudioEffectAWX
- Example: 3 Inputs, 7 outputs -> Track channels need to be set to 8
If the plugin addition is successful, the default UI for the plugin comes up. You should be able to see:
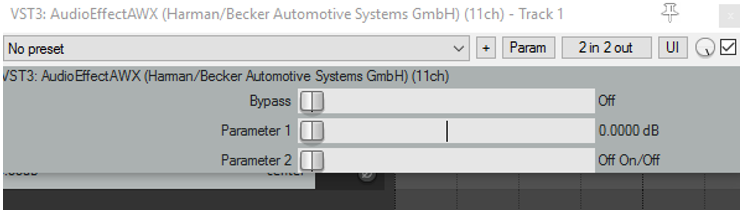
The UI controls for this GUI can be ignored for now. This engineering release drop does not support any GUI
Controls
- Click on Insertà MediaFile to add an audio file to the track
Click on the play button to start audio playback