In order to set up a basic measurement following steps need to be performed:
- Open the sound card settings dialog by hitting the “Advanced” button on the ribbon bar
- Choose the “Sound In device” which has a microphone attached for Channel 1 + 2
- Switch to the Analyzer tab
- Click on the Source for CH 1 and select SoundIn1 from the context menu
- Close the Settings Dialog by a click on “Done”
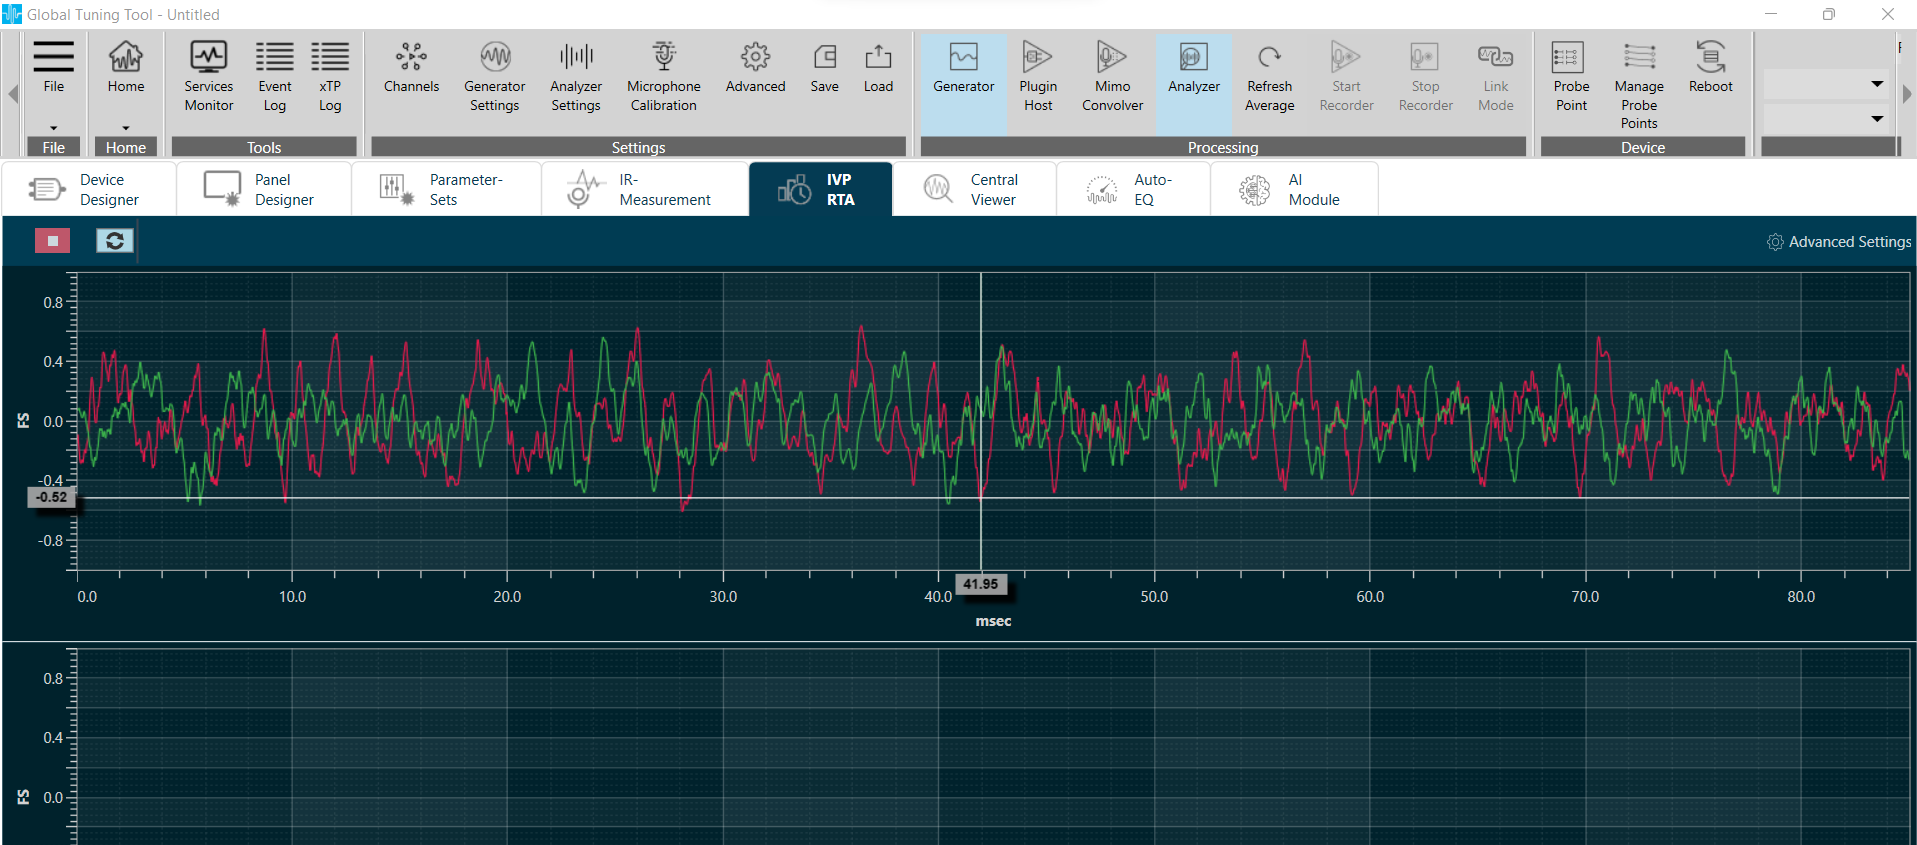
- Hit the Start Analyzer on the ribbon bar
- The RTA graph shows now the incoming microphone signal in the time domain
- In order to display the spectrum of the signal open the Analyzer window by a click on the Analyzer settings button in the ribbon bar
- In the Analyzer window set the Mode to Spectrum
The graph shows now the spectrum of the incoming microphone signal:
Remark: since only one channel is active, the lower graph has been minimized by dragging the middle line and moving it to the bottom of the window.
In order to test RTA without a soundcard signal, the test signal generator can be connected directly to the analyzer:
- In the “Analyzer Settings” window, click on “Advanced Settings”
- Set CH 1 Source to Generator1
- On the ribbon bar click on “Generator”
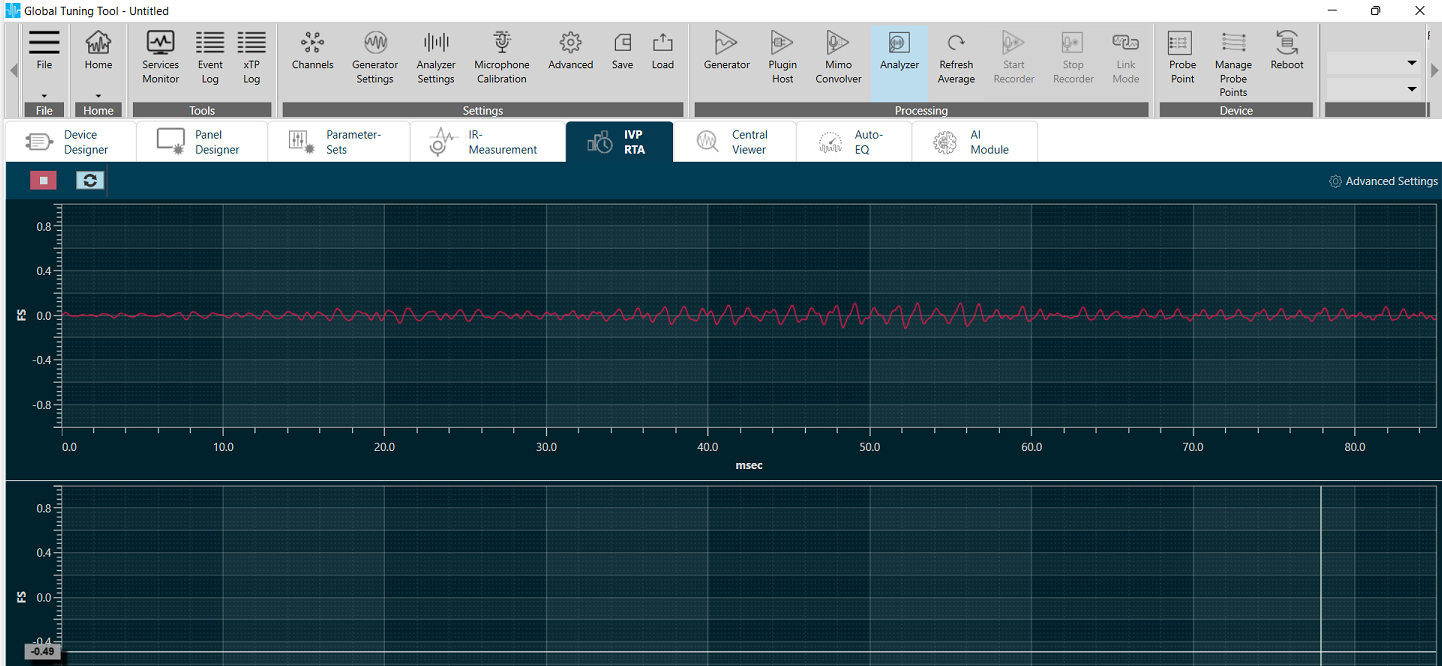
- Hit the Play button
The graph shows now the spectrum of a 1kHz sine signal: